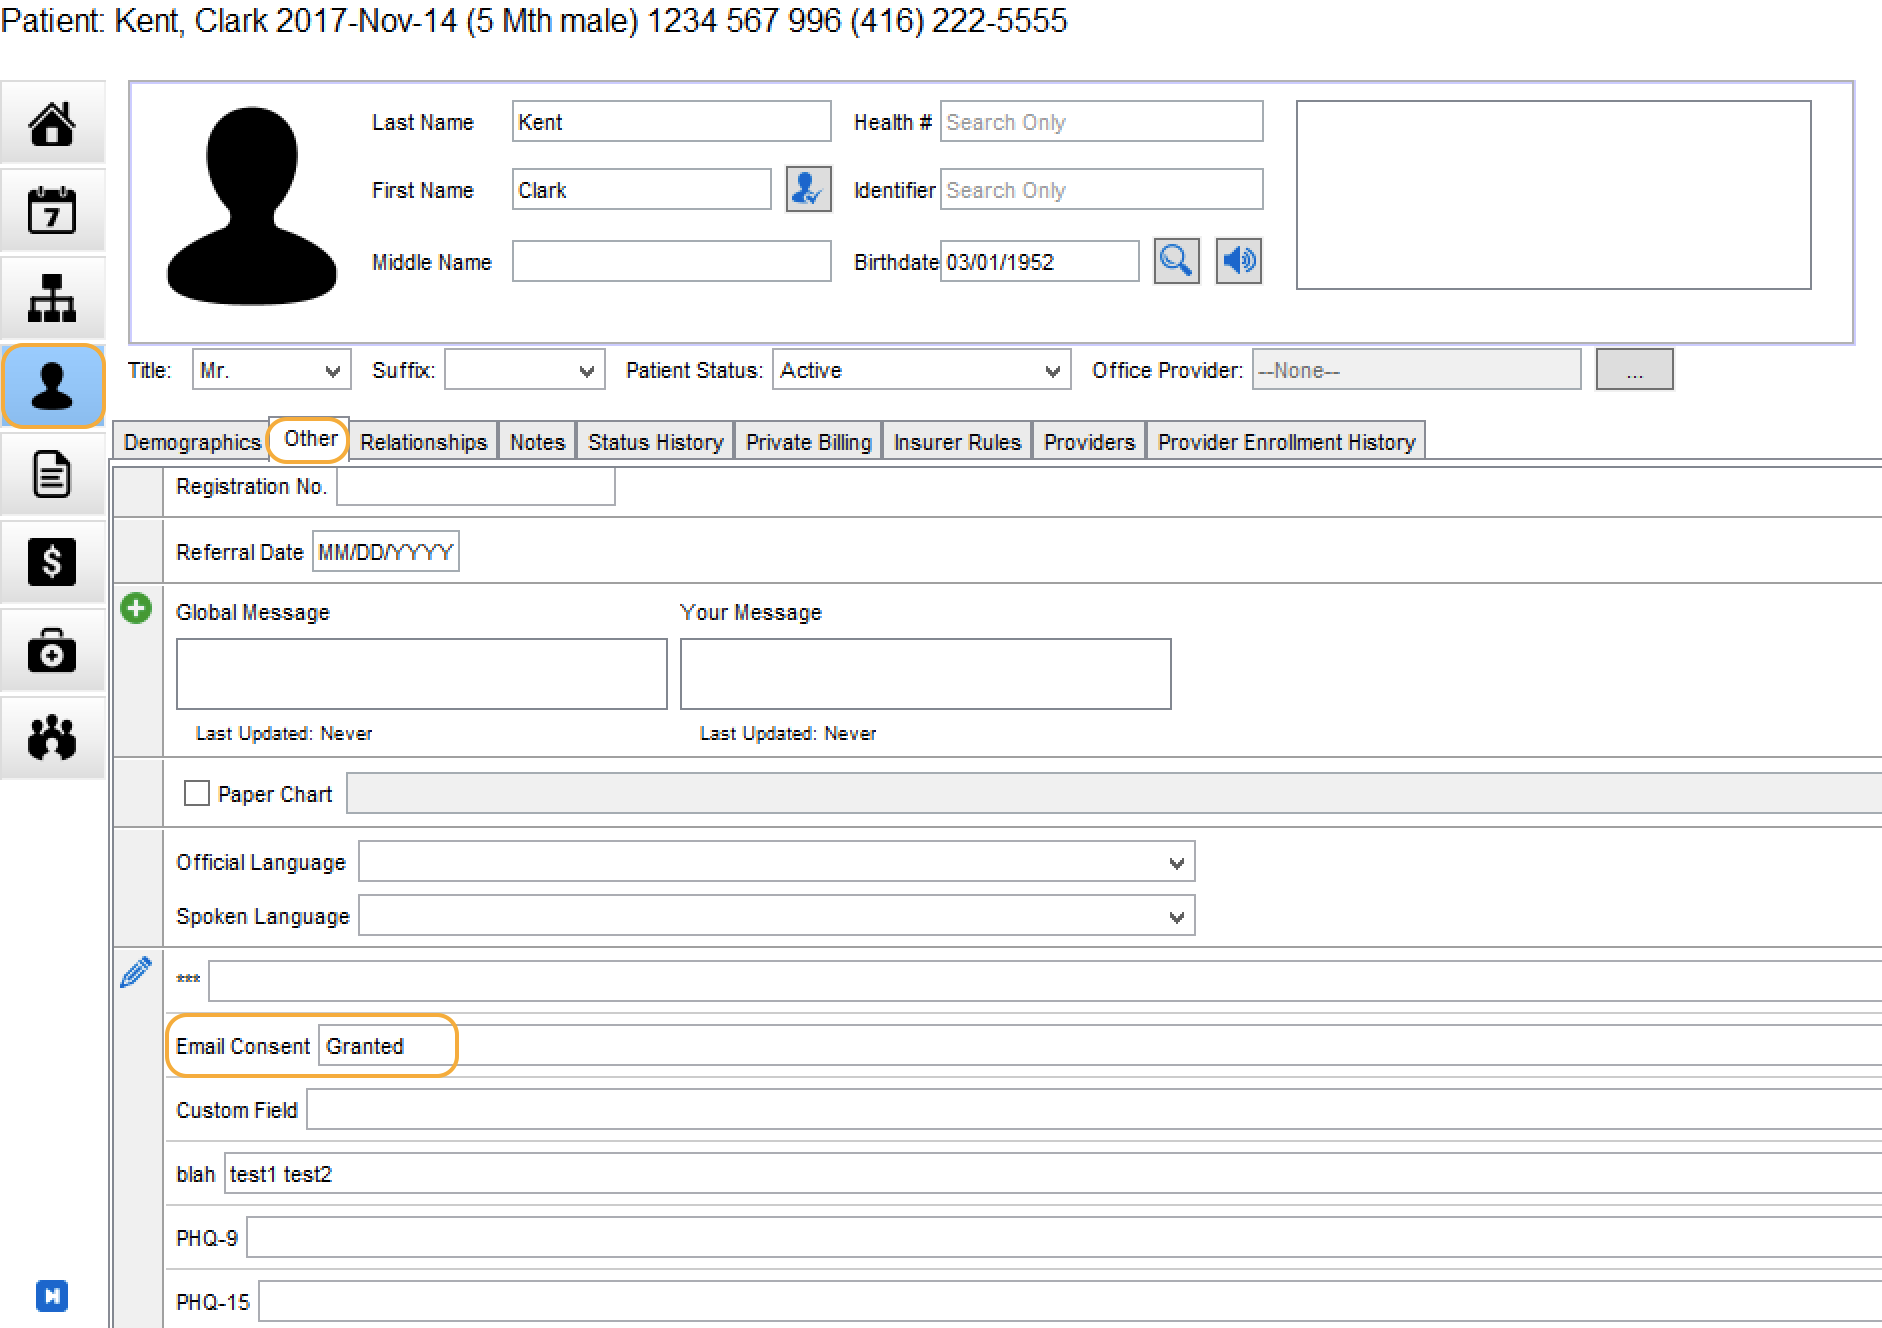
- By default, the Accuro EMR does not search or display the 'Patient ID' value for each patient chart in the EMR.
-


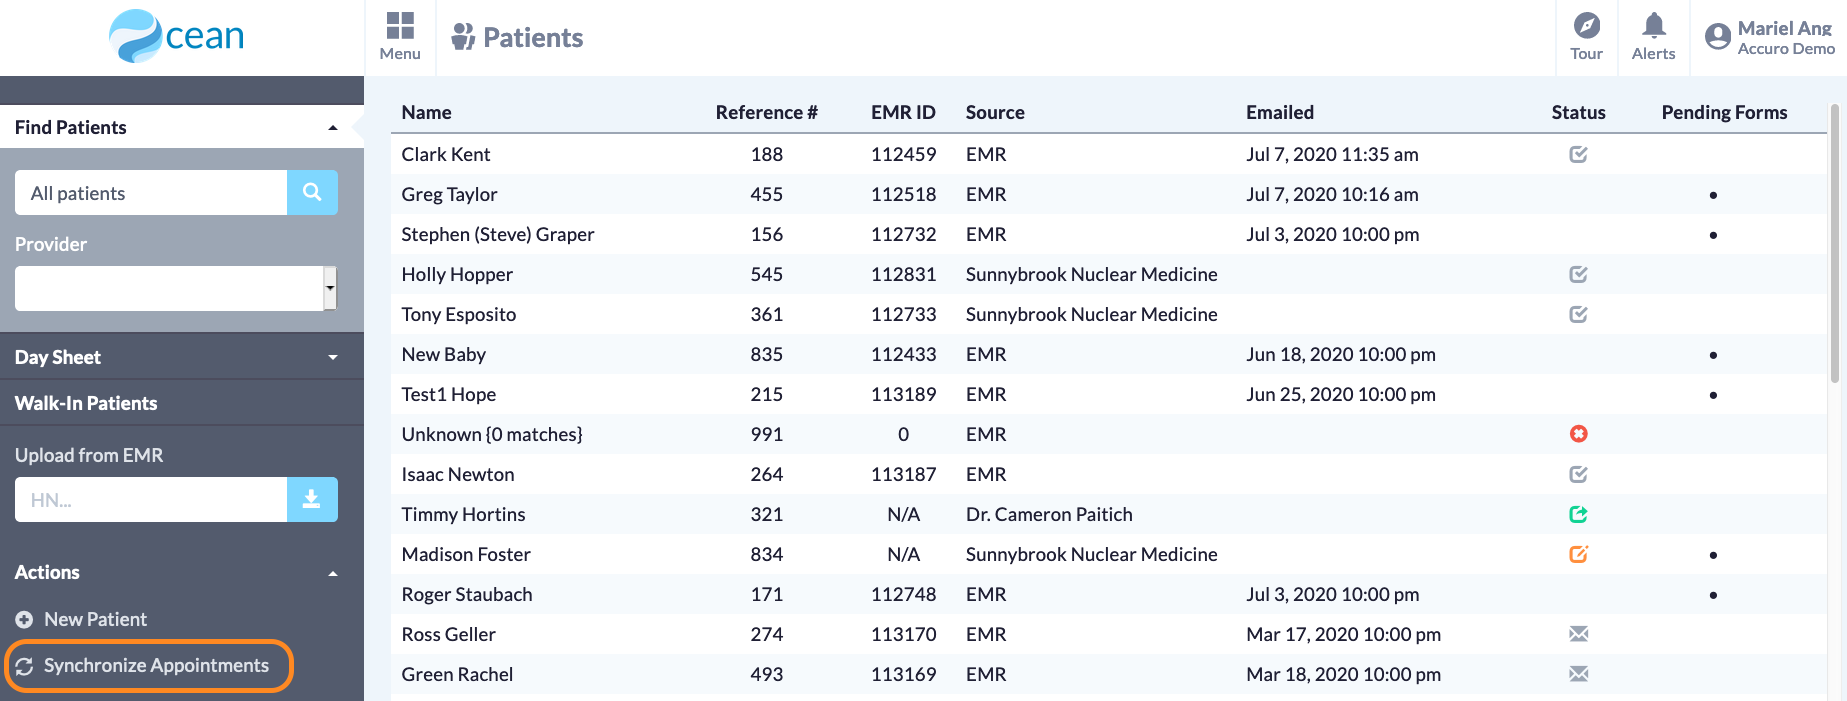
- For Ocean Sites integrated with Accuro, it may be helpful to enable the searching and display of the 'Patient ID' value in Accuro so that it can be conveniently used or referenced when searching for patients between Ocean and Accuro.
- To do this, follow the steps below:
Note: This is a user-specific EMR system setting. This means that each EMR user must perform these steps themselves to enable the display of the 'Patient ID' value in Accuro.
- Log in to your Accuro EMR.
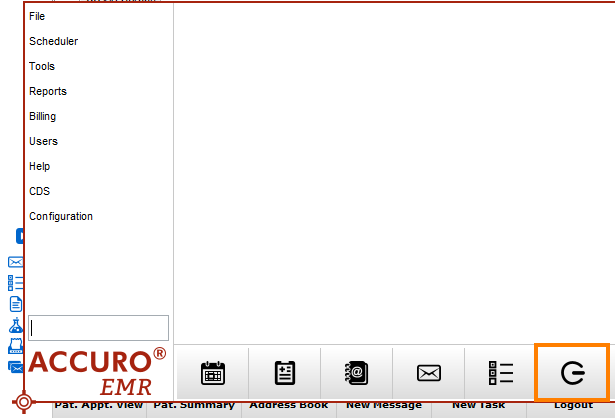
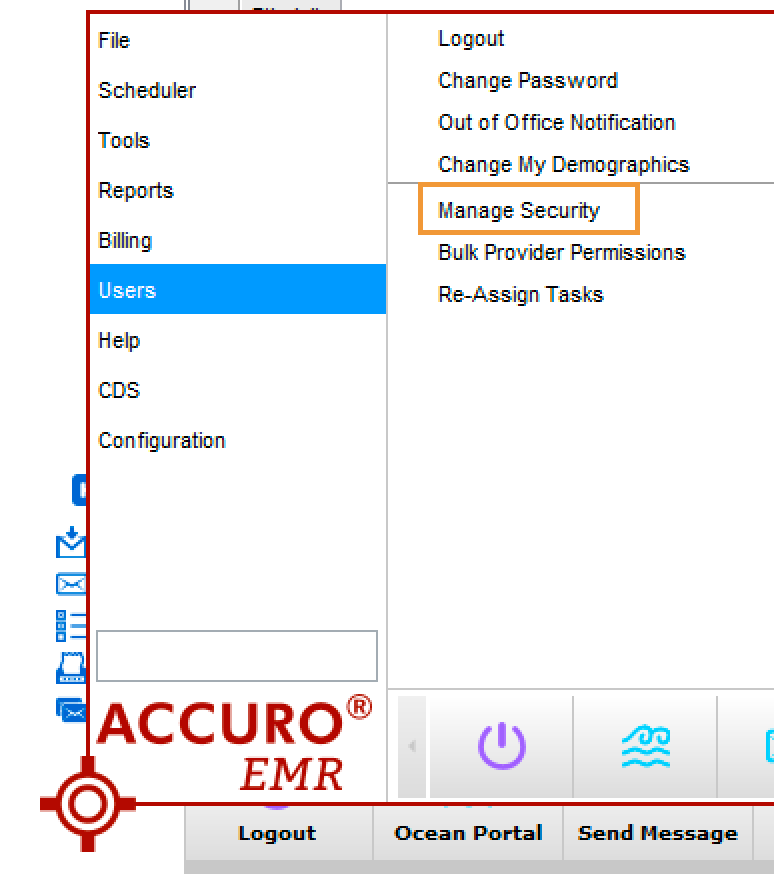
- Open the Accuro target menu, select 'File', and select 'User Preferences'.
-

- In the User Preferences window, open the 'Search' settings area.
-

- Enable the 'Search Patient ID & Alternative ID' setting.
- Under the 'Search Types' section, select 'Patient'.
- Under the 'Fields to Display in Result' section, enable the 'Patient ID' field.
- Click 'OK'.
- Once these steps have been completed, the 'Patient ID' value will be searchable via the 'Identifier' field and displayed when searching for patients in your Accuro EMR.
-