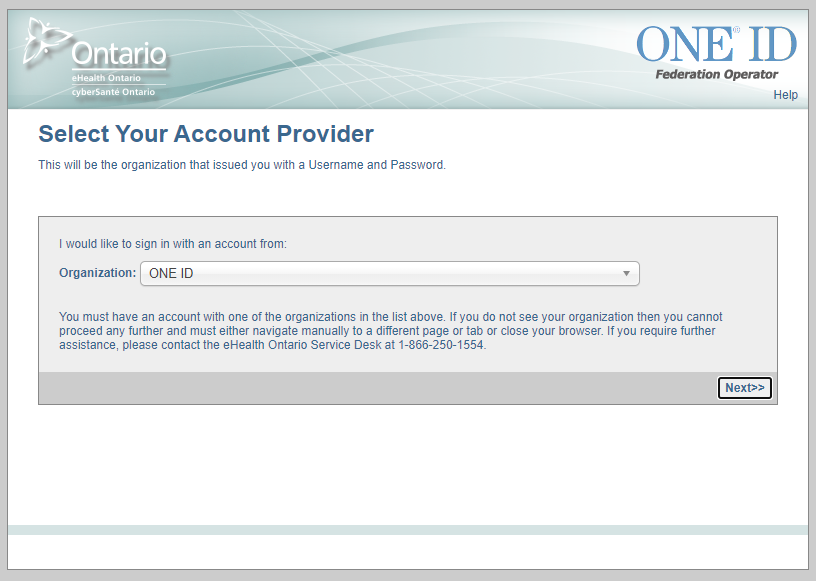
Background
For privacy, security, and auditing purposes, any individual that requires access to Ocean must have their own Ocean user account.
For Ocean Sites that are integrated with an EMR, individuals must perform a one-time linkage of their Ocean user account to their respective EMR user account to support Single Sign-On (SSO) and the ability to launch into Ocean from the EMR (e.g., when sending a Patient Message, or initiating an eReferral).
For example, the user account for "John Smith" in the EMR must be linked to John Smith's individual Ocean user account.
Recognizing that individuals may be a user on more than one Ocean Site which use different EMRs (e.g., an independent practice and a specialty clinic), Ocean supports the ability to establish and maintain multiple linkages between a single Ocean user account and different EMR user accounts at different Ocean Sites.
This ensures that Ocean "remembers" the unique Ocean User-to-EMR User Account relationship for SSO and eliminates the need for an individual to have multiple Ocean user accounts.
Issue
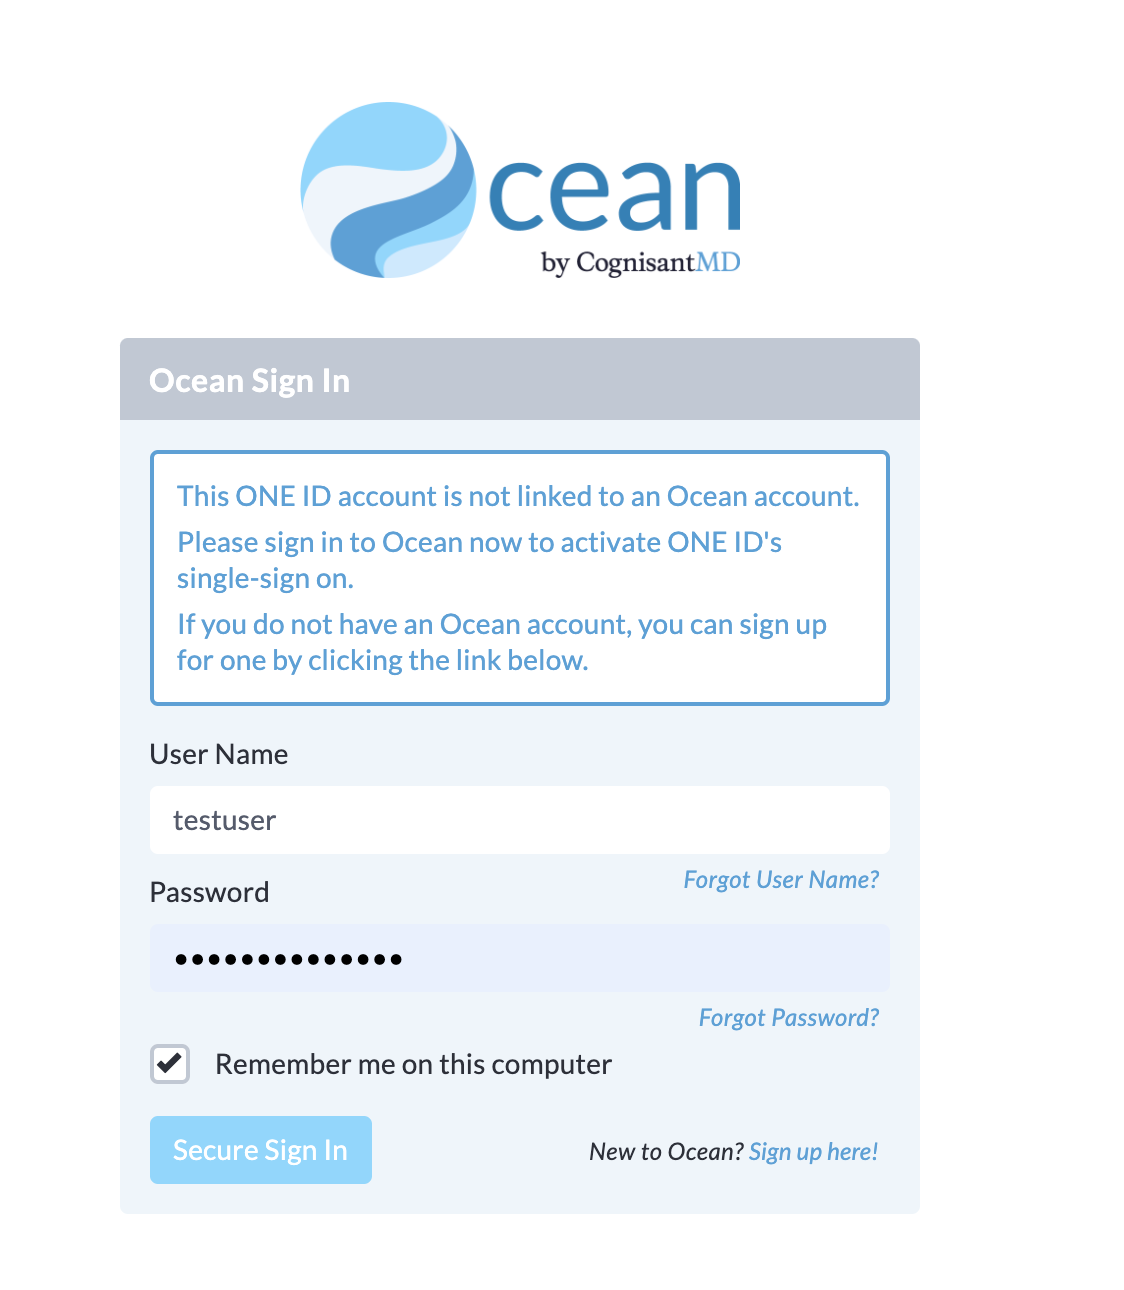
When you attempt to link an EMR user account to your Ocean user account, Ocean checks to see if there is already an EMR user account linked to your Ocean user account for the Ocean Site that you launched into.
- If an existing account linkage is not found, you can proceed without issue.
-

- If an existing account linkage is found, you will receive a message stating: 'Error: Existing EMR User Account Linkage Detected'.
If you received this error message, consult the 'Steps to Take' section below.
Steps to Take
Since Ocean does not have the ability to determine if the correct EMR user account has been linked to the Ocean user account (e.g., that the "John Smith" EMR user account has been linked to John Smith's respective Ocean user account), you must manually verify the following items:
1. Verify your EMR user account
Within your EMR, verify that you are properly logged in to your own individual EMR user account.
If you are not logged in to your own individual EMR user account, log out of your EMR and log back in using your own EMR user account credentials, and then retry linking your accounts.
If you have confirmed that you are logged in to your own EMR user account but continue to experience the error, proceed to Step 2 below.
2. Verify your Ocean user account
Verify that you are logging in to Ocean using your own individual Ocean user account credentials.
Reminder: Ocean does not support "shared" user accounts. Any individual that requires access to Ocean must have their own Ocean user account for privacy, security, and auditing purposes.
If you have confirmed that you are logged in to your own EMR user account and that you are logging in to Ocean using your own individual Ocean user account credentials, proceed to Step 3 below.
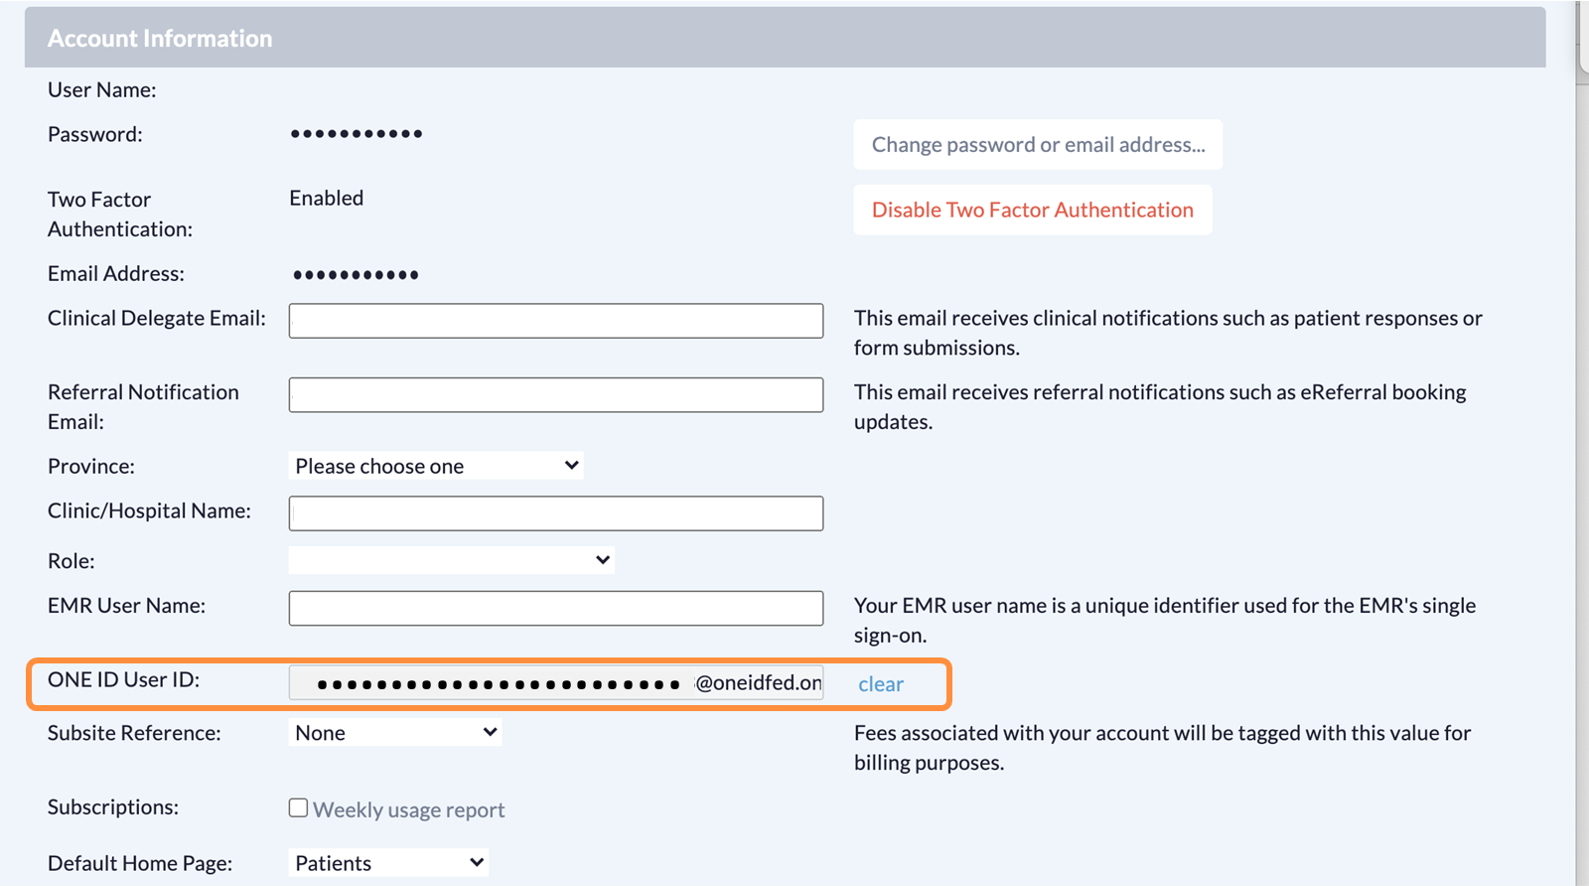
3. Verify existing EMR user account linkages for your Ocean user account
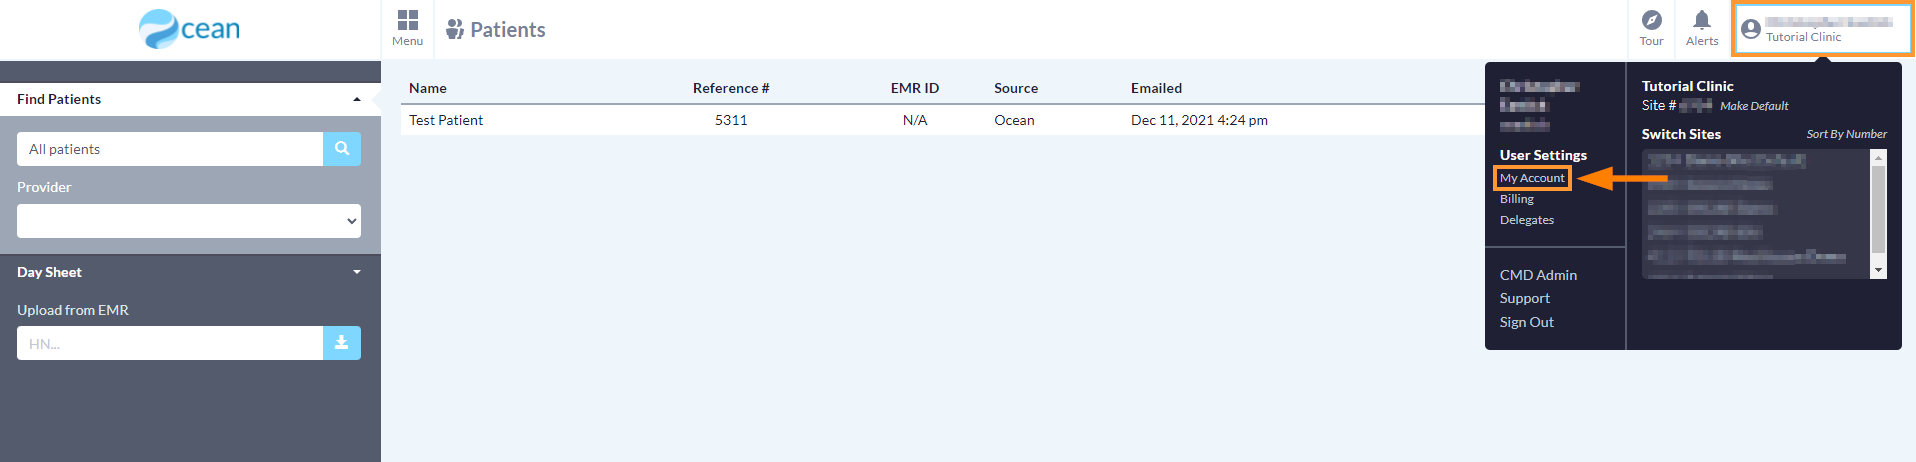
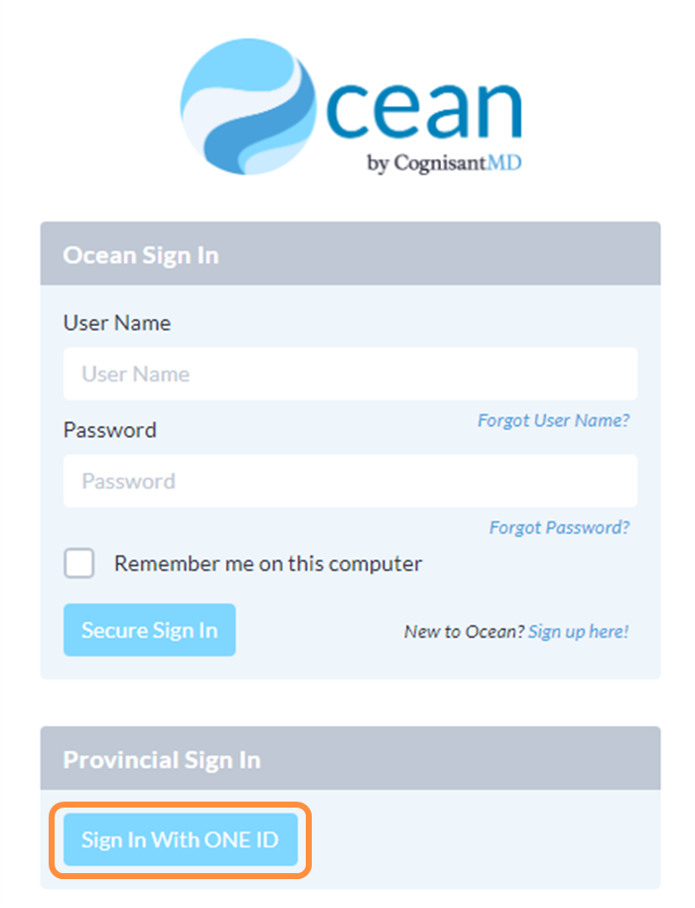
- In a web browser, navigate to ocean.cognisantmd.com and log in using your Ocean user account credentials.
-

- Click your name in the top right corner and select 'My Account'.
-

- Scroll down to the 'Linked EMR Users' section of the page and review the EMR user account(s) that is/are linked to your Ocean user account.
-

- If you find any improper EMR user account linkages, remove it by clicking the 'Remove' button.
- Click 'Save Changes'.
-
Once any improper EMR user account linkages have been removed, retry linking your EMR user account to your Ocean user account (e.g., when sending a Patient Message, or initiating an eReferral).
If the error message persists, please contact the OceanMD Support team for assistance.
EMR Username Formats
The format of the EMR user account displayed under the 'EMR Username' column can vary depending on the integrated EMR system:
- PS Suite: EMR Usernames are formatted as: [First Name] [Surname]
- Med Access: EMR Usernames are formatted as: [First Name] [Surname]
- OSCAR Pro: EMR Usernames are formatted as: [Surname], [First Name]
- Accuro: EMR Usernames are represented by a numeric user ID value.
- For assistance in determining the EMR user account that corresponds to a numeric user ID value in Accuro, please contact QHR Client Services (support@QHRtech.com).