Note:
This article reflects the functionality available during the early release phase of EMR Notifications in partnership with Nova Scotia.
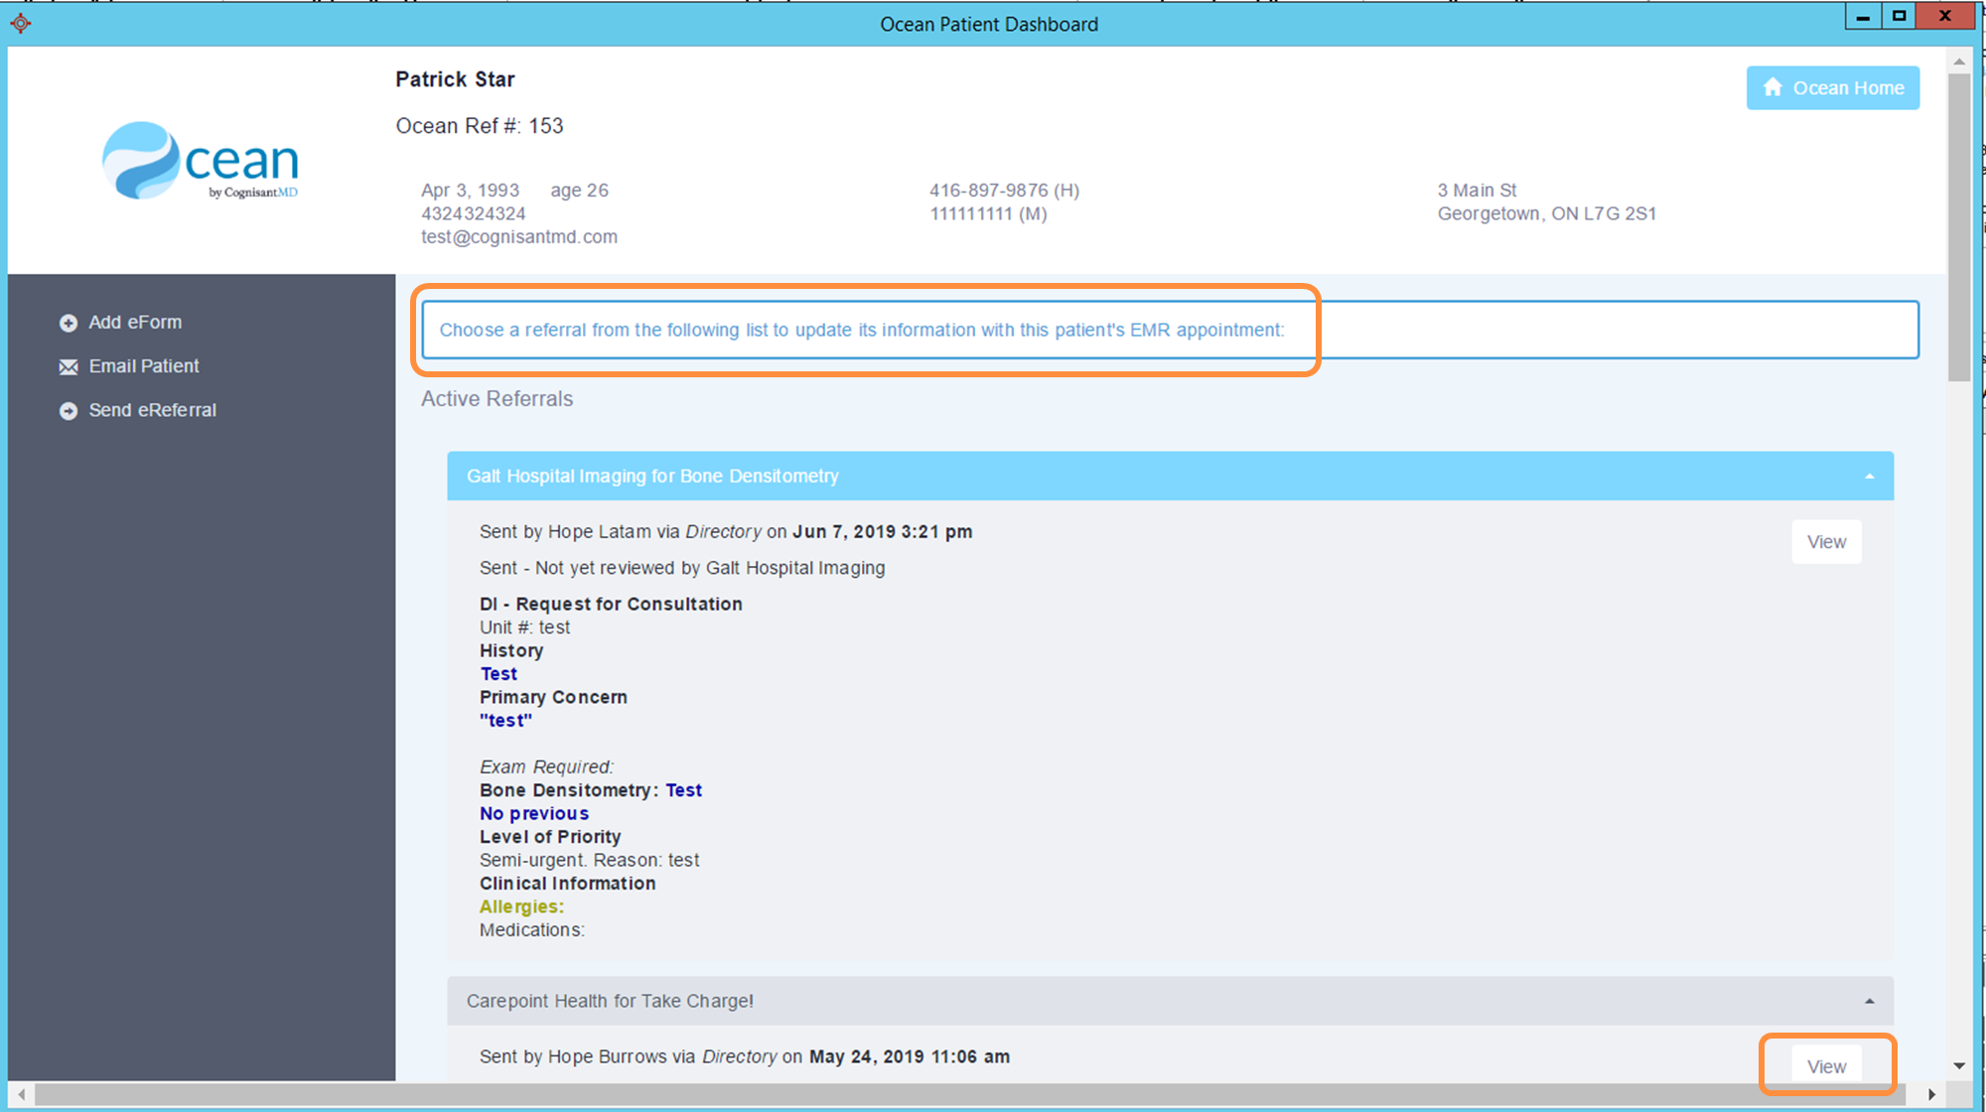
EMR Notifications for sent eRequests allows providers to receive automated notifications directly within their EMR when key status updates occur for eRequests they have sent through the Ocean Provider Network.
Prerequisites
Before setting up EMR Notifications for Accuro, a user with Site Admin access to your Ocean Site must complete the following prerequisite steps:
- Re-authenticate your Ocean Cloud Connect integration.
- Enable EMR users in your Ocean Cloud Connect configuration by selecting one or more users in the 'Sync EMR User(s)' setting.
- Perform a full schedule synchronization by clicking 'Sync Full Schedule' in Ocean Cloud Connect.
Configuration
EMR Notifications for sent eRequests are configured on a user-by-user basis. Users can perform this configuration themselves, or a user with Site Admin access can perform the configuration on behalf of users.
Any changes made by an Site Admin to a user's EMR notification settings are immediately reflected in that user's Ocean account. Likewise, if the user updates their own notification settings, those changes will also appear in the Site Admin's view.
To configure EMR Notifications for sent eRequests for your own Ocean user account, follow the steps below:
- After logging in to the Ocean Portal, click your name in the top right corner and select 'My Account'.

- Click 'Edit EMR Notifications for Sent eRequests'.

-
For each Ocean Site you belong to, select the desired EMR User to be notified for each eRequest event under the 'EMR User' column. These settings apply to eRequests that are sent by you or on your behalf (e.g., by a Clinical Delegate).
For events where no EMR notification is desired, set the EMR User to 'None'.
Your changes will be automatically saved and apply to both new and existing eRequests.

To configure EMR Notifications for sent eRequests on behalf of another Ocean user, follow the steps below:
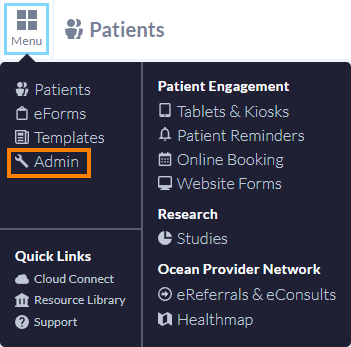
- After logging in to the Ocean Portal, open the 'Menu' and select 'Admin'.
- Click 'Users'.

- Locate the user that you would like to configure EMR Notifications for sent eRequests on behalf of and select 'Manage User'.

-
Select the desired EMR User to be notified for each eRequest event under the 'EMR User' column. These settings apply to eRequests that are sent by this user or on their behalf (e.g., by a Clinical Delegate).
For events where no EMR notification is desired, set the EMR User to 'None'.
Your changes will be automatically saved and apply to both new and existing eRequests.

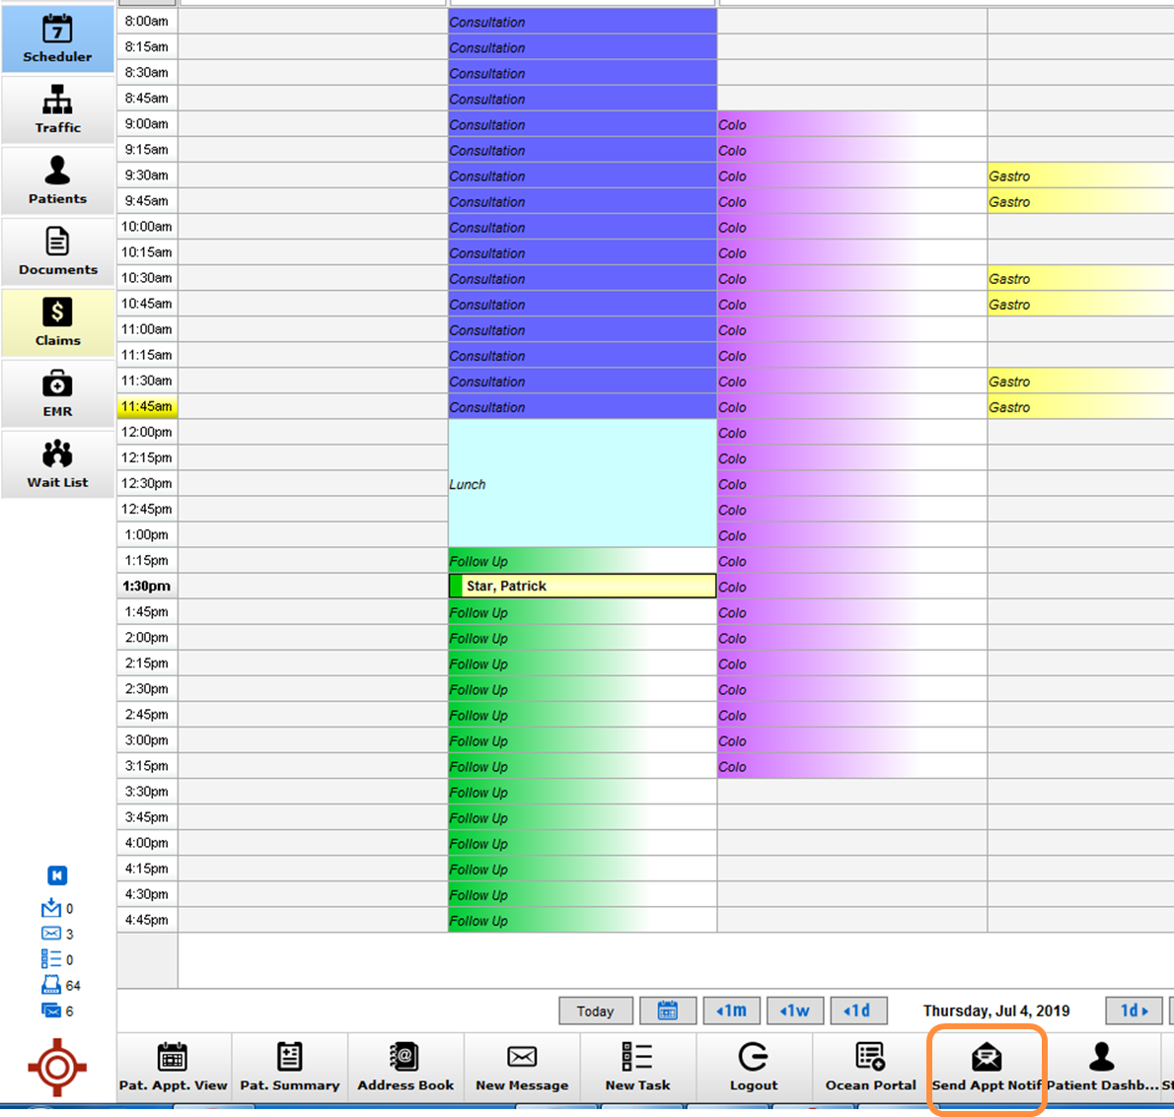
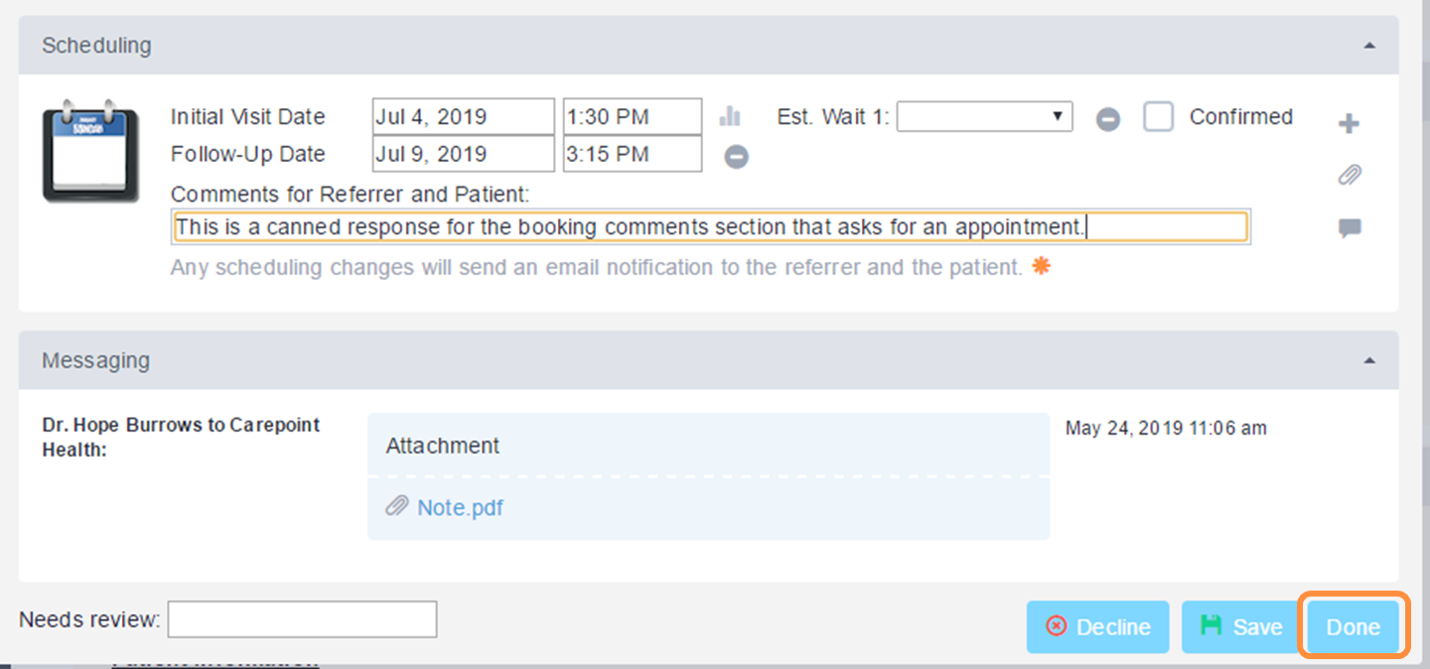
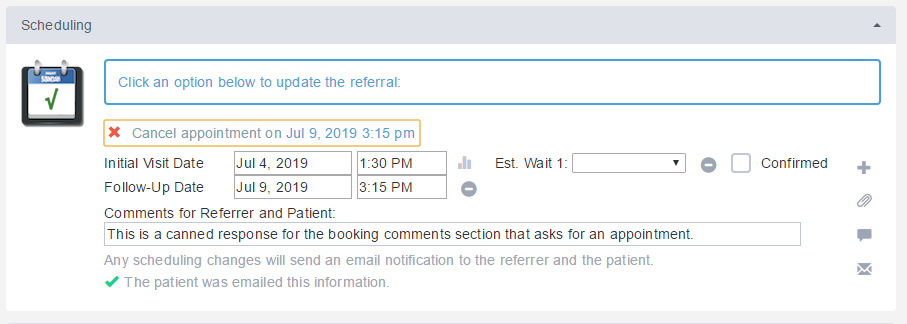
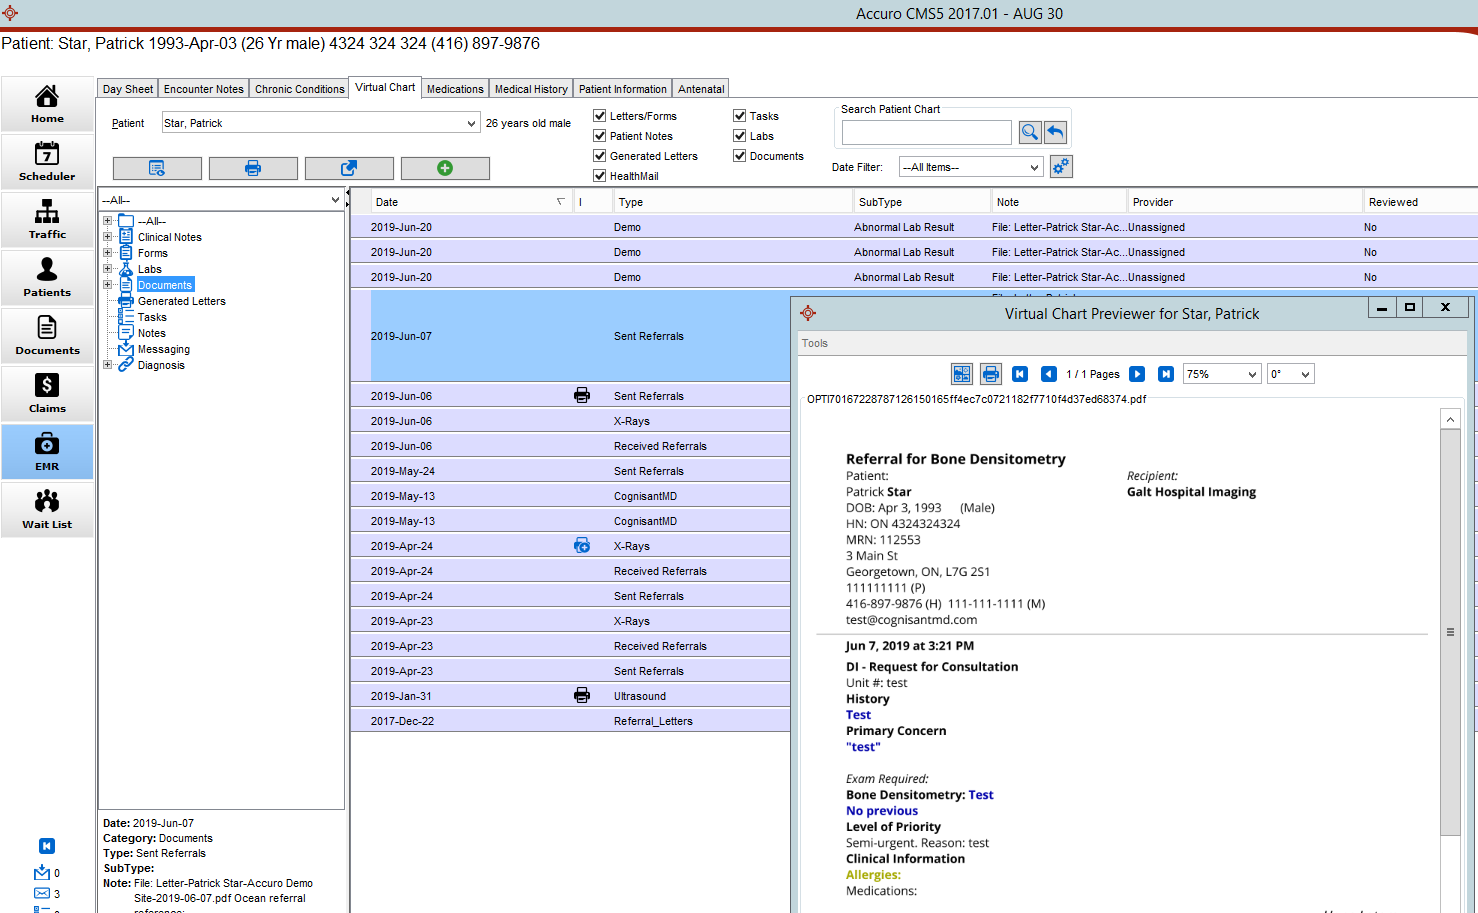
How Sent eRequest Notifications appear in Accuro
Expand the tabs below to see how each Sent eRequest EMR Notification appears in Accuro.

Note: The 'Reason for referral:' portion of the notification will only appear if the optional 'ax_reasonForReferral' analytic value has been populated for the eRequest.

Note: The 'Reason for referral:' portion of the notification will only appear if the optional 'ax_reasonForReferral' analytic value has been populated for the eRequest.
Frequently Asked Questions
EMR Notifications for Sent eRequests work on a site-by-site basis for Ocean users associated with multiple Ocean Sites.
- When the user accesses the self-configuration area as outlined above, they will be able to configure their notifications for each Ocean Site they are associated with that support EMR Notifications for Sent eRequests.

- Yes, when EMR Notifications for Sent eRequests are created successfully (or fail to be created), it is logged as an event within the respective eRequest's Event Log.

When an Ocean user who has configured EMR Notifications for Sent eRequests is removed from an Ocean Site, Ocean will stop generating EMR Notifications for any referrals that were sent by (or on behalf of) that user from that site.
- If you are seeing EMR-related error notifications in Ocean (such as “EMR user unavailable” or “Invalid EMR user(s)”), this usually indicates that one or more EMR user accounts are no longer active or properly synchronized.
These notifications appear when Ocean detects that an EMR user linked to your configuration has been removed, deactivated, or is otherwise unavailable.
For step-by-step guidance on identifying and resolving these issues, please refer to the article: Quick Troubleshooting Guide: EMR Notifications for Sent/Received eRequests.