


You are responsible for purchasing your tablets that will run Ocean (which also means that you will own these tablets once purchased).
When choosing a tablet to use with Ocean, there are a few things to consider.
- Patient Tablets need to run on Android 6.0 or higher (i.e. any current generation Android tablet).
- For the sake of accessibility, we also typically recommend screen sizes of 9" or more. However, we do have clinics using high resolution 8" tablets as well.
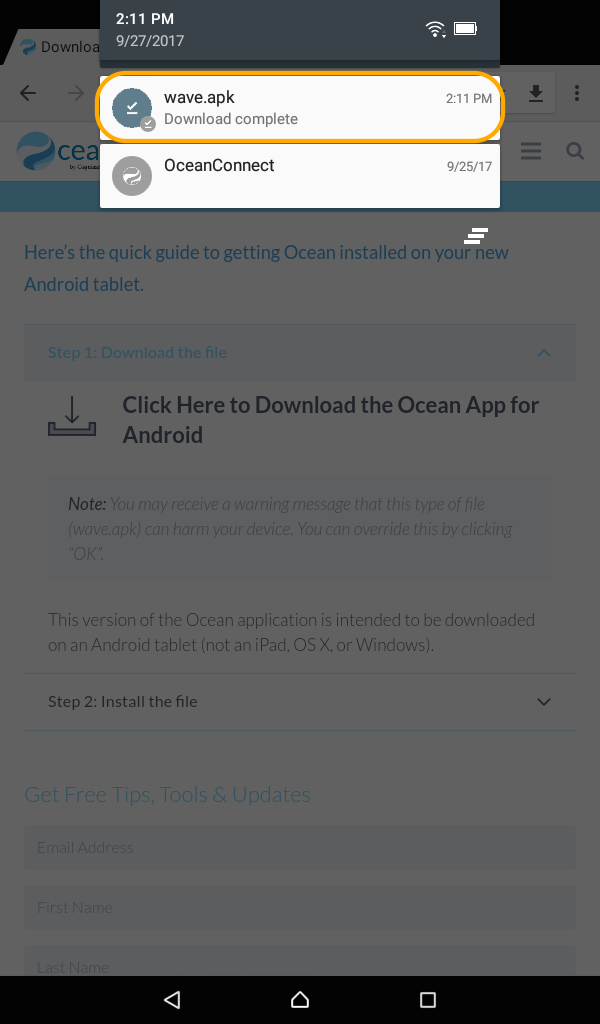
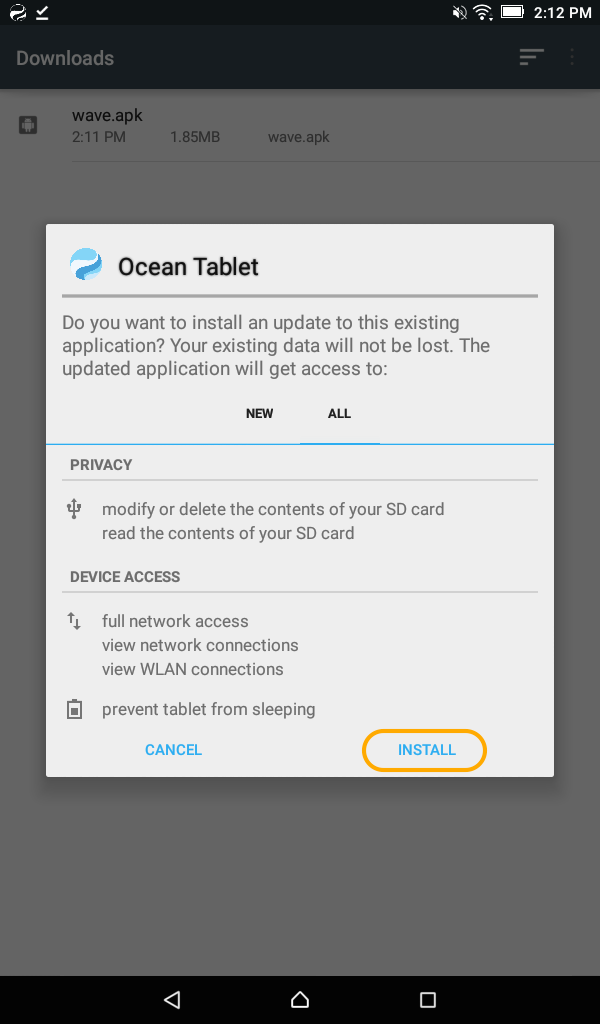
Patient Tablets are not compatible with iOS (i.e. it cannot run on an iPad).
Other than that, it’s really personal preference.
You do not need an external keyboard and getting a cheap protector case is a good idea, just to make it easier to grip and more likely to survive a drop to your waiting room floor. For more tips about tablet security, check out the articles "Securing Your Tablets" and "How do I prevent patients from misusing the Patient Tablets?" For tips on keeping tablets germ-free check out our blog post on sanitizing tablets.
Tablet brands to be wary of...
Be careful with "budget" tablet brands. Unfortunately, we've heard a number of complaints about these lower-end models, ranging from WiFi connection issues to screen issues and pooling of mac addresses.