Ocean fees are incurred only when services are used or activated. At the end of each month, an automated process will gather together all the "billable items" (i.e. days of tablet usage, web questionnaires sent, etc.) into an invoice and send it to the "Payer" on your Ocean Site, which you can set in the "Billing" section of the Admin view of the Ocean Portal.
If you are billed through a EMR vendor, your Ocean usage will be reflected on the bill provided by the EMR provider.
Setting up Payment Information
OceanMD accepts payments via credit card (Visa, MasterCard, and American Express) and bank debit.
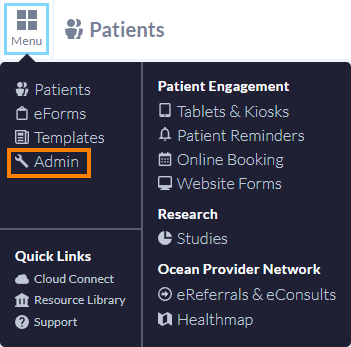
- To enable automatic payments, sign into the Ocean Portal, click your name in the top right, and select 'Billing'.

-
If paying via Credit Card, select the 'Credit Card' option, enter your credit card information, and then click 'Confirm Payment Information'.
If paying via Bank Debit, select the 'Bank Debit' option, enter your name and email (as you are the person authorizing the use of the banking details), and then click 'Confirm Payment Information' to enter your banking details.
-

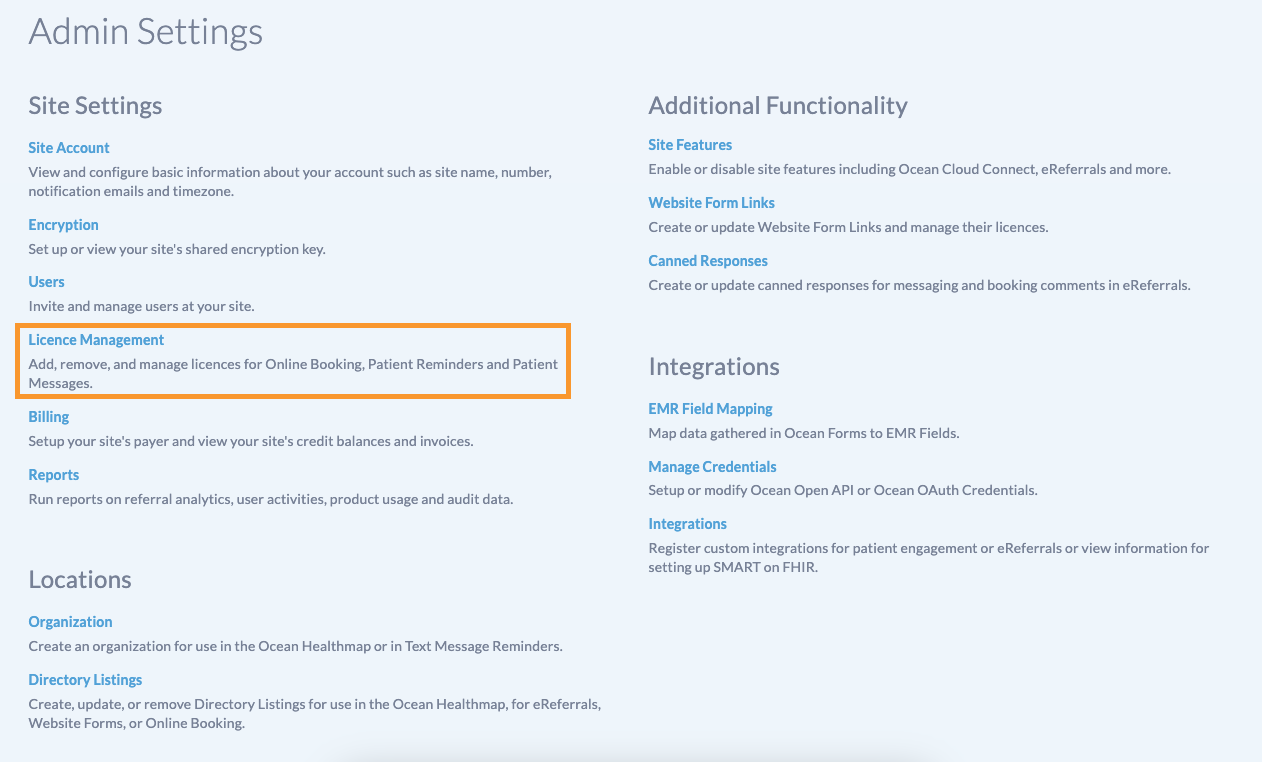
- After your payment information has been confirmed, navigate to your Ocean Site's Admin settings.
- Click 'Billing'.

- Ensure that your user account is selected in the 'Payer' field.

Updating the Finance Administrator Email
Invoices are always sent to the Ocean Site Payer's email address, however if you have additional emails that should also receive email invoices, you can include them in the 'Finance Administrator Email' field of your Site Account settings.
- From the Admin Settings page, select 'Site Account'.

-
Enter the email address that invoices should be sent to in the 'Finance Administrator Email' field, and click 'Save Changes'.