A special custom form has been built to trigger a PS Suite message (i.e. yellow sticky note) based on a patient's response in an Ocean eForm (or based on completion of a form). This custom form is called "Ocean - Send Message" and is available in the OceanMD Resource Library. Follow the steps below to trigger a message, based on an Ocean eForm.
Note: To set this up, you will need to be familiar with a few of the more advanced aspects of the Ocean-PS Suite integration.
-
Download the "Ocean - Send Message" custom form and open up your Ocean eForm.
- Download the "Ocean - Send Message" custom form from the Ocean Library and install it in PS Suite, like you would with any other PSS custom form
- Back in the Ocean Portal, select the form that you would like to use to trigger the PSS message and open it in the eForm editor. You will be adding several formula items to the bottom of this form.
-
Create a new formula item in your Ocean eForm.
- To add the first item, select "Add Item" and change the item type to Formula.

- In the Note Formatting tab, set "Create a Note for this Item" to "never".

-
Link your Ocean eForm to the "Ocean - Send Message" custom form.
- Under the Scripting and More tab, add the item reference "pssCF", set "Show this field if" to "false" and enter 'Ocean - Send Message' in the formula field.
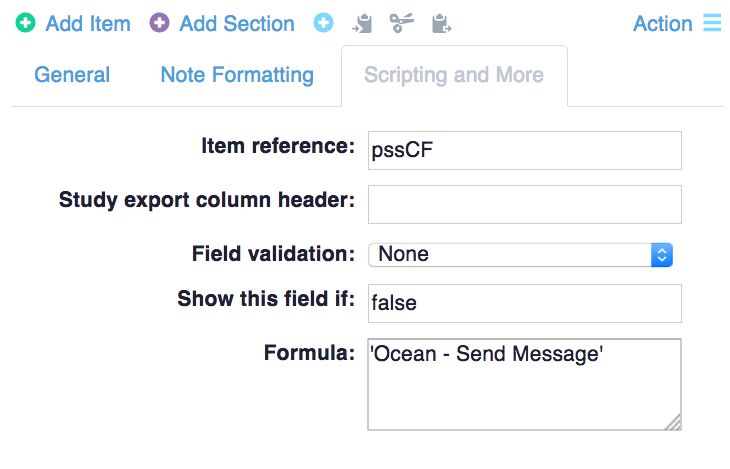
- Note: The text in the formula field MUST be surrounded by single quotes (' ').
-
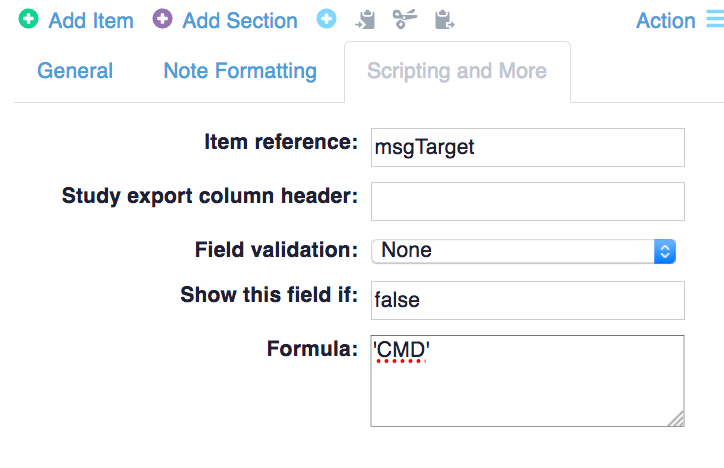
Define the target user for your PS Suite message.
- Repeat step 2 to add a second formula item to set the user that will receive the message.
- Instead of using the item reference "pssCF", this time use "msgTarget" and enter the PSS user initials into the "Formula" box. In the example to the right, the PSS user initials are CMD (remember to use the single quotes in the "Formula" box).
-
Define the message body for your PS Suite message.
- Again, repeat step 2 to add a third formula item to configure the body of the message.
- This time use the item reference "msgBody" and type your message into the "Formula" box. In the example below, the message shown to the user will be 'Pt. completed the test form'.

-
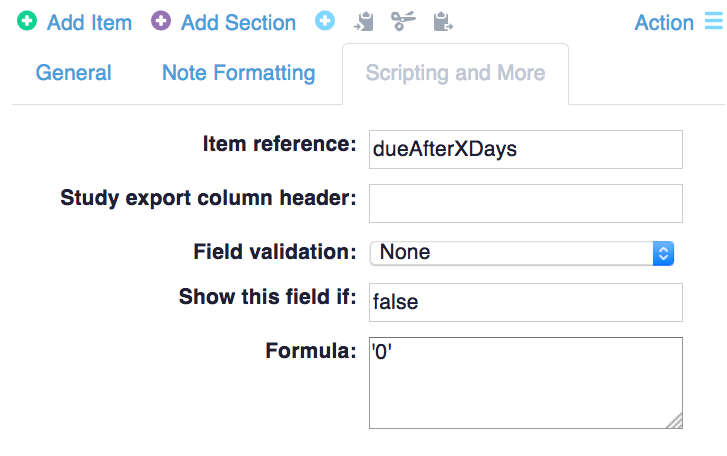
Define when the PS Suite message shows up.
- Repeat step 2 to create a fourth formula item to set the message timing.
- This time, use the item reference "dueAfterXDays" and type a number in the "Formula" box. In the example to the right, 0 days have been entered, which means that the message will display as soon as the chart is opened.
-
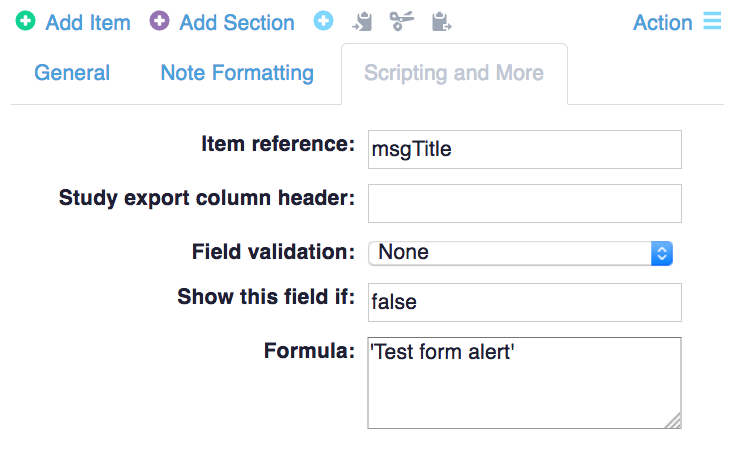
Define the title for your PS Suite message (optional).
- You can also repeat step 2 to add an optional 5th formula item in order to give your message a title.
- This time, use the item reference of "msgTitle". In the example below, the message title is 'Test form alert'.
- Once you have completed these steps, you should see the PSS message whenever a patient completes the associated Ocean eForm.
Note: The "send message" action is triggered when the patient chart is opened. If a patient is sent a form to complete at home using Patient Messaging, there may be a significant delay between the completion of the form and the patient chart being opened (and thus, the PS Suite message being triggered). Clinics may consider implementing a message management workflow that ensures that Ocean alerts are enabled and patient charts are always opened as soon as an alert is received.