This feature enables you to release available appointments at a set time daily and limit bookings to the current day. This configuration is ideal for clinics offering same-day appointments, such as walk-in clinics or flu clinics.
- Ocean supports this workflow using the 'Only allow same-day bookings' setting within the 'Booking Window' section of the Ocean Booking Schedule.
-

Configuration
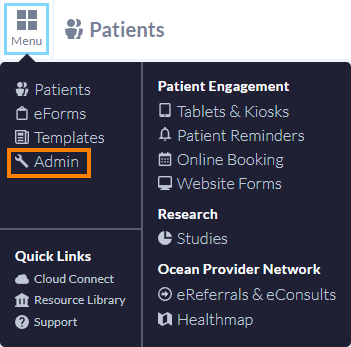
- Open the 'Menu' in the top left corner and select 'Online Booking'.
-

-
Click the 'Settings' button in the top right corner.
Note: You must have Site Admin access on your Ocean site to access Online Booking Settings.
-

- Under the 'Booking Schedules' heading, locate the relevant Booking Schedule and click 'Edit'.
-

-
Under the 'Booking Window' configuration area, set the 'Only allow same-day bookings?' setting to 'Yes'.
Note: When the 'Only allow same-day bookings?' setting is set to 'Yes', the 'Prevent last minute bookings' and 'Prevent bookings too far in the future' Booking Window restrictions are unavailable.
-
- Use the 'Day start' dropdown to specify the time of day the schedule will be made available to patients each day.
- Click the 'Save' button to save the changes to your Booking Schedule.
Notes & Additional Configuration Considerations
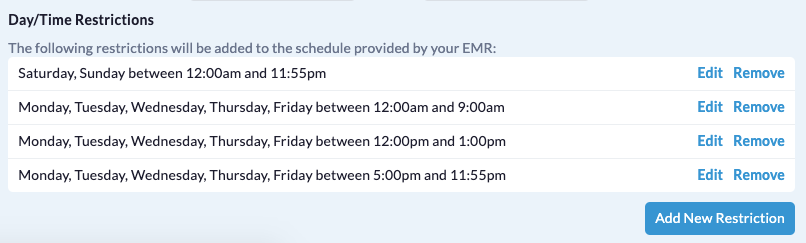
- The "end" of the current day is determined by the end of day as set in the EMR schedule* or the 'Day/Time Restrictions' specified within the Ocean Booking Schedule (if any are set).
- *Reminder for OSCAR Pro Users: Ocean cannot see the start/end hour of the OSCAR Pro schedule. You must manually specify this information within the 'Day/Time Restrictions' of the Ocean Booking Schedule.
- Review any 'Day/Time Restrictions' configured within the Booking Schedule to ensure that patients are not erroneously prevented from booking same-day appointments once the schedule is made available to patients for the current day.
- For example, if your 'Day start' time is 3:00 PM, verify that your 'Day/Time Restrictions' do not prevent patients from booking appointments after 3:00 PM.
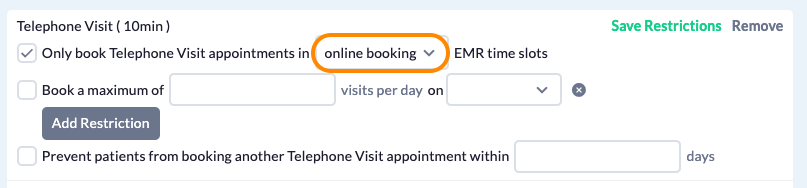
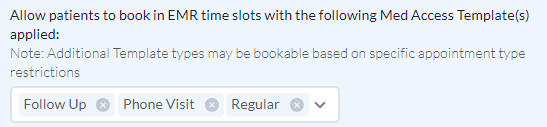
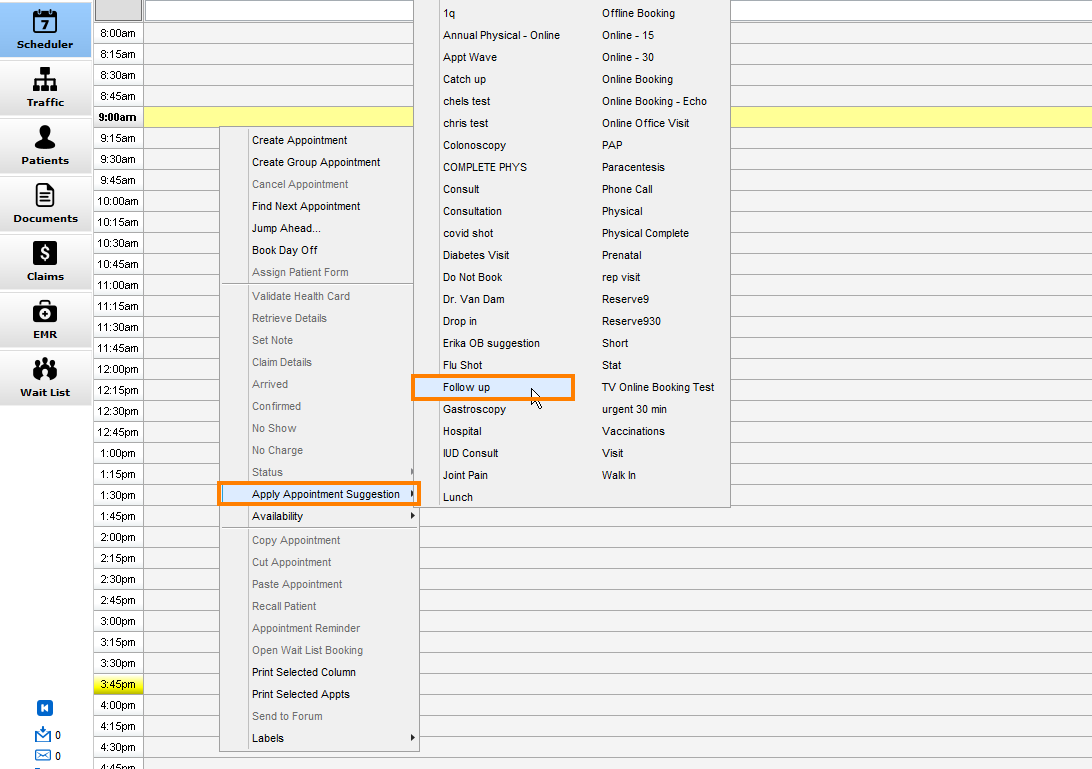
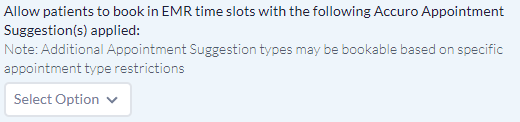
- Review any 'Appointment Type Restrictions' configured within the Booking Schedule to ensure that patients are not erroneously prevented from booking same-day appointments once the schedule is made available to patients for the current day.
- For example, if appointment availability for your Appointment Type(s) is restricted into EMR time slots with certain placeholder/template/suggestion/template codes applied, verify that these have been applied within the EMR schedule after the 'Day start' time. This ensures that available time slots are displayed to patients once the schedule has been made available.
Patient Booking Experience
The experience of a patient booking online when the 'Only allow same-day bookings' setting is set to 'Yes' is described below:
- The patient checks-in.
-

- The patient selects a Booking Schedule.
-

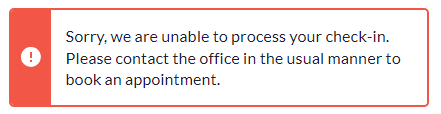
- If the patient is attempting to access the Booking Schedule before the 'Day start' time, they will be prevented from booking an appointment and instructed to wait until the the schedule has been made available to patients.
-

- If the patient is attempting to access the Booking Schedule after the 'Day start' time, the patient is prompted to choose an Appointment Type and complete the Booking Form.
-

- The patient is prompted to choose an available appointment time for the current day.
-

- The patient is presented with the confirmation screen and the Post-Booking Form.
-