What is a Service Location Billing Code?
In Accuro, the Service Location Billing Code identifies the type of location where a service is delivered — such as a clinic, hospital, or diagnostic facility. These codes are used for billing and vary by province.
Why is this important?
Clinics can set a default Service Location Billing Code within their Cloud Connect settings. Once configured, Ocean will automatically populate this code for all appointments booked in the EMR.
This value will be set for all booked appointments, including appointments booked online and tablet/kiosk walk-in appointments.
What are the input rules?
Clinics can set a default Service Location Billing Code within their Cloud Connect settings. Once configured, Ocean will automatically populate this code for all appointments booked online.
- Must be a single alphanumeric character (A–Z or 0–9)
- The field automatically converts your input to uppercase
Note: If left blank, you’ll see an error message: “Must contain a single alphanumeric character (0-9, A-Z)”
Steps to Configure the Service Location Billing Code
-
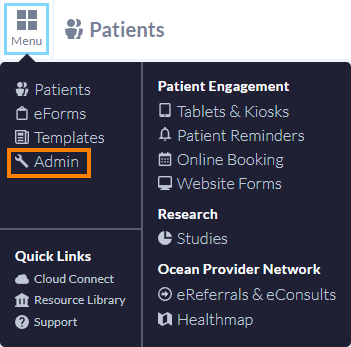
In a web browser, navigate to cloudconnect.cognisantmd.com and log in using your Ocean user account credentials.
Note: You must have Ocean Site Admin access to log in to Cloud Connect.

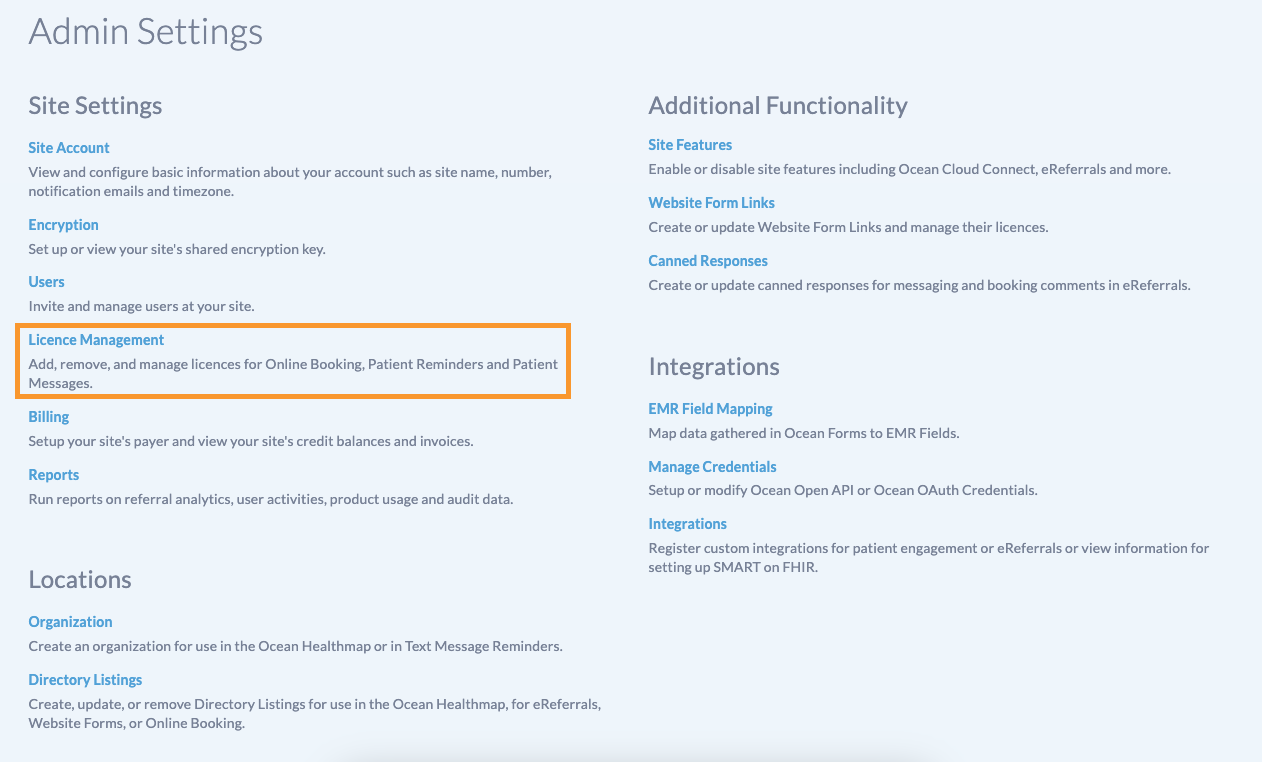
- Within the 'Sync Status' section, click 'Edit Settings'.

- Locate the 'Accuro Service Location Code for Appointments' setting:

- Enter your preferred location code (must be a single alphanumeric character).
- Finish configuring your Service Location Billing Code and then press 'Save'.
- When appointments are booked online or through a tablet/kiosk walk-ins, the Service Location Billing Code will automatically update in Accuro.

What happens if I enter a code that doesn’t exist in my Accuro instance?
If the code you enter isn’t recognized in your Accuro setup, Accuro will automatically assign Z – Other. This is the existing fallback behavior within Accuro.
What happens if I leave the field unset?
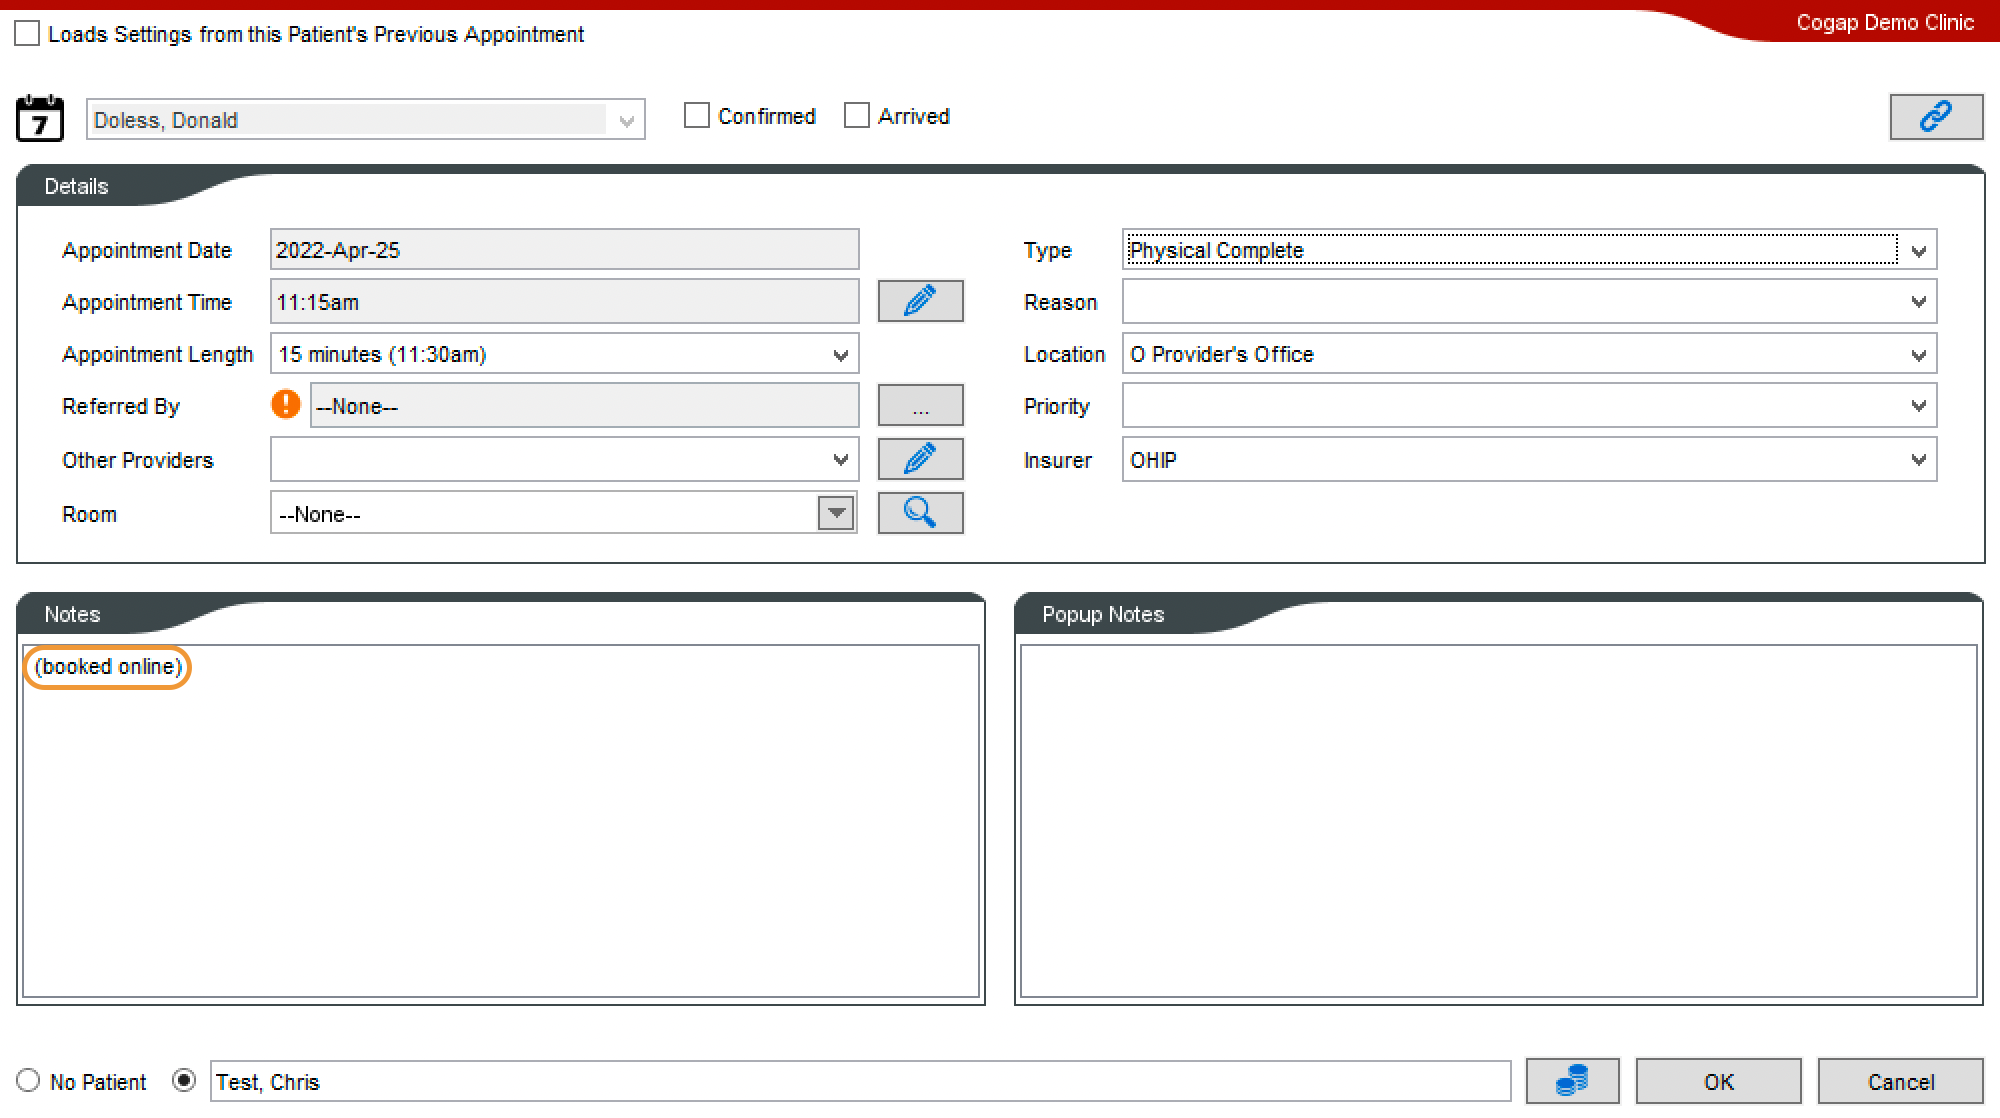
The Service Location will default to ‘O’ until the clinic specifies a preferred value to override.
Which appointments will use this setting?
The configured Service Location Billing Code will apply to all booked appointments, including:
- Online Appointment Bookings
- Walk-in or kiosk booking
Note: Referral bookings are not affected
Can I configure multiple Service Locations for one site?
No. At this time, only one default Service Location Billing Code can be set per Ocean Site. Multi-location support is out of scope for this release.