Please note: Attachments cannot be saved to patient messaging templates.
Prerequisite
- Before following the steps below, ensure you have downloaded and installed the latest version of the Ocean Attachment Exporter.
Ocean makes it easy to select and 'green bar' notes in a patient chart in PS Suite, which are then automatically uploaded as attachments to an Ocean Patient Message or eReferral.
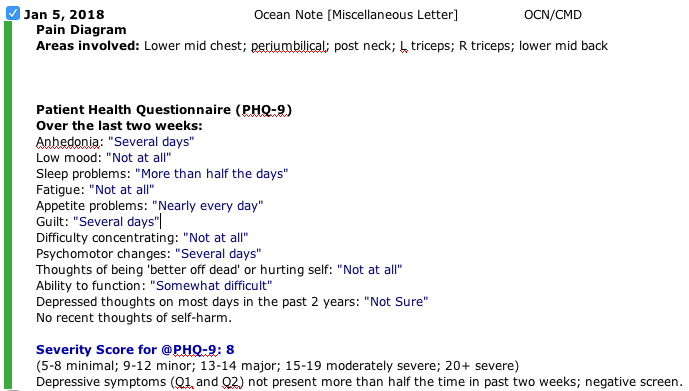
- Find the note(s) in the patient chart that you want to include as a PDF attachment.
- Check the box next to the note to enable the "green bar".
- Click on "Email" in the Ocean toolbar.

- You will be prompted to optionally customize the attachment file name. (By default, the file name will include the patient initials, EMR user initials, and current date).

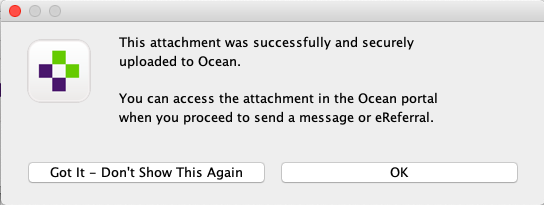
- A prompt will then appear to confirm that this attachment has been successfully uploaded to Ocean. Click 'OK' to proceed, or 'Got It - Don't Show This Again' to proceed and prevent this confirmation box from appearing in the future.
- A new web browser window will open and launch into Ocean. The attachment will automatically be included in the Ocean Patient Message.

- You can preview your secure message attachment by clicking on the “eye” icon, or remove it by clicking on the “X” icon.

- Attachments that have been uploaded from the EMR and then removed can be re-added by clicking 'Add Attachments' and selecting it from the list of uploaded attachments.

To customize the settings of the Ocean Attachment Exporter form:
- Open the Ocean Attachment Exporter custom form in a test patient chart, and click the Settings button.

- Select "Toggle the Display of the Export Information Message" if you would like to show the user an explanatory message about the attachment, after the upload to Ocean is complete.

- Select "Toggle the Prompt to Export Lab Table" if you would like to be prompted to include the lab table each time an attachment is generated.
There are two methods that can be used to attach PDF files from Accuro to a secure message in Ocean, however we strongly recommend using the Integrated Attachment Method detailed below.
Integrated Attachment Method
Prerequisite
- Ensure that you have enabled the 'Save for Ocean' Button in Accuro.
- Ensure that the Accuro Provider Permissions for the 'OceanAPI' EMR User have been appropriately set for the EMR providers that are using Ocean.
- Ensure that the Accuro CDS menu has been configured for quick access to Ocean.
- Select the patient in Accuro that you wish to generate an attachment in Ocean for.
-
In the 'Encounter Notes' section, create a new note by clicking the green plus icon.
Tip: You can use the Ctrl+F11 keyboard shortcut to create a new note from any section of Accuro, as long as you have the patient selected first.

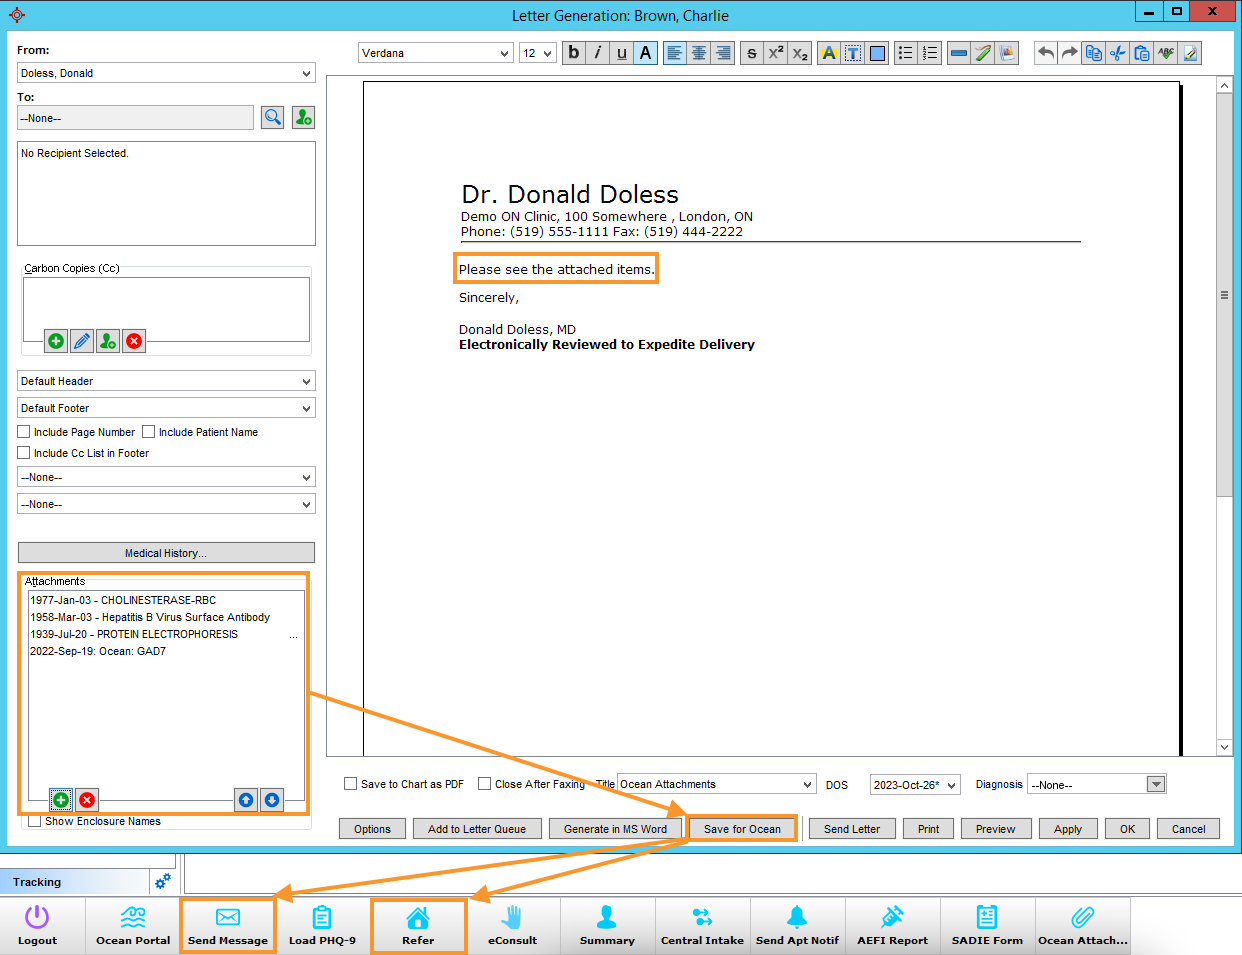
- Specify a filename for your attachment by using the 'Title' field in the bottom left, and then click Generate Letter.

- Ensure you have the correct 'From:' Provider selected in the top left, then go to the Attachments pane and click the green plus icon to add an attachment.

-
In the Select Attachments window, choose the items from the patient chart that you would like included, and then select OK.
Note: The Accuro letter generator does not currently support colour images (e.g., photographs). To include high-resolution colour images as attachments, please use the 'Print-to-PDF' attachment method outlined below.

- The list of selected attachments will appear on the left. Click the 'Save for Ocean' button.

- A Generated Letter will be created in the patient chart.

-
Use the 'Send Patient Message' CDS link or action button to launch into Ocean.
Ocean will look in the Accuro chart for any unused Generated Letters with the current date to upload and automatically include them as an attachment to your message.

- You can preview your attachment by clicking on the purple eye icon, or remove it by clicking on the red 'X' icon.

- Attachments that have been uploaded from the EMR and then removed can be re-added by clicking 'Add Attachments' and selecting it from the list of uploaded attachments.

Optional Tip: Create an Encounter Note Template & Quick Access Button
- To optimize Steps B and C (i.e., creating a new Encounter Note in Accuro), you can create a template with a corresponding Quick Action Button for efficient access to the 'Generate Letter' button.
-

- From there, you can select your attachments, click 'Save for Ocean', and launch into your Patient message or eReferral workflow using the relevant CDS link.
-
Print-to-PDF Method
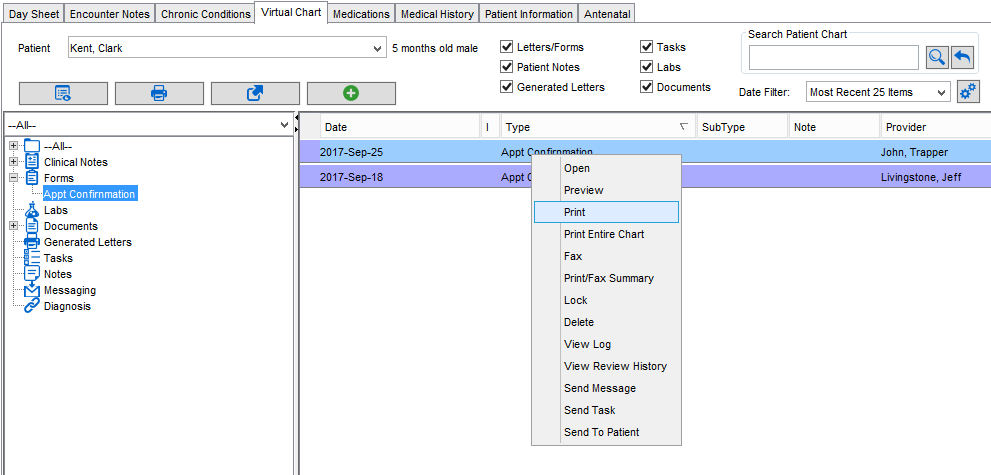
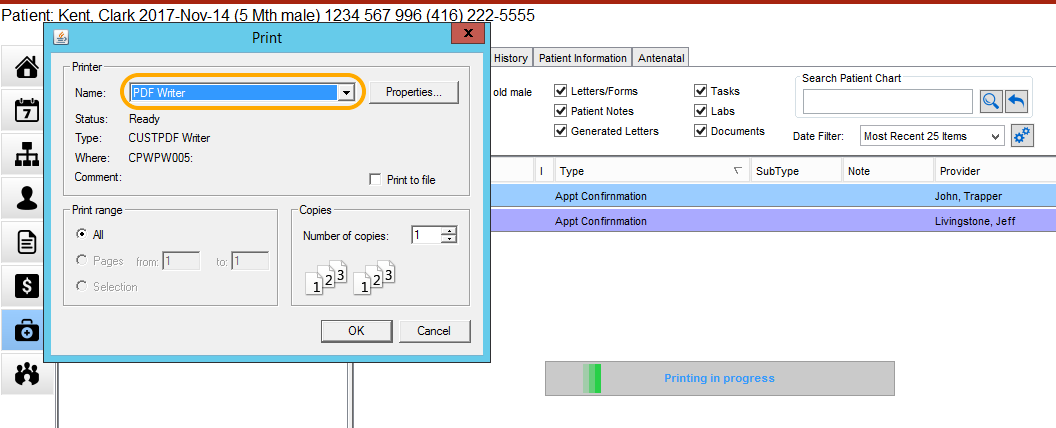
- Enter the patient's Virtual Chart in Accuro and find the encounter note(s)/file that you wish to save as a PDF. Right click on the note and select "Print".
- This will open up the "Print" dialog. Ensure that your printer is set to "PDF Writer" and select "OK".
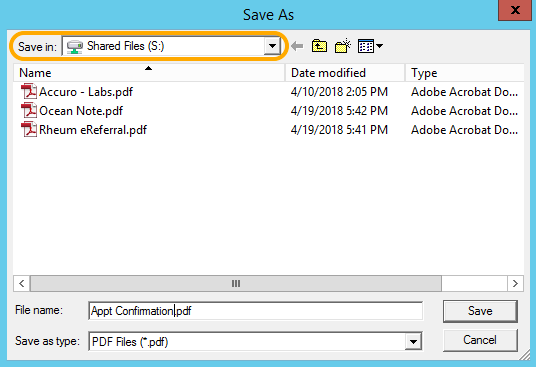
- This will open up the "Save As" dialog. Rename your file and save it in the "Shared Files (S:)" drive.
- Ensure that you delete the file attachment from the "Shared Files (S:)" drive after your message has been sent.
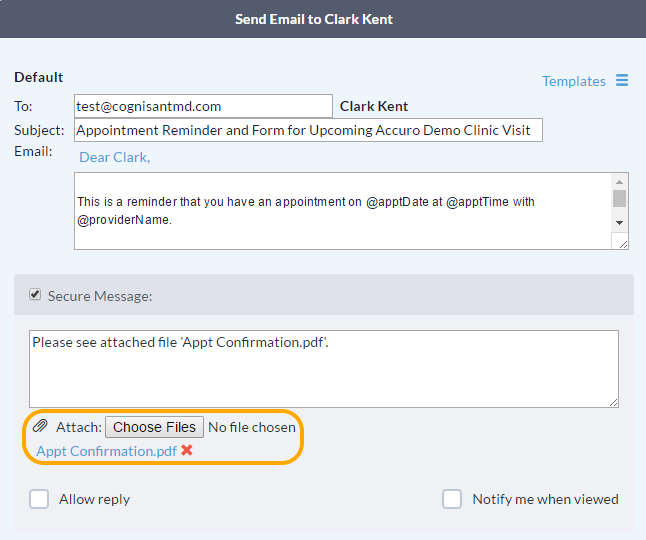
- Once you've saved your file, it can now be opened, printed, and/or attached to a secure Ocean message.
-

- In OSCAR Pro, open the patient chart that you would like to send a Patient Message to.
- At the bottom of the Progress Note area, click the 'Attachment Manager' button.

-
Within the Attachment Manager, select the desired attachment(s) from the patient chart that you would like to include as an attachment in your Patient Message, and then click the 'Save for Ocean' button.
Note: Only items from the Documents, HRMs, Labs, eForms, eDocs, and Smart Encounter Forms sections can be saved for Ocean.

- At this point, the Attachment Manager window can be safely closed.
- Within the patient chart, click the 'Email' button on the Ocean Toolbar.

- A new web browser window will open and launch into Ocean. The attachment will automatically be included in the Ocean Patient Message.

- You can preview your secure message attachment by clicking on the “eye” icon, or remove it by clicking on the “X” icon.
- Attachments that have been uploaded from the EMR and then removed can be re-added by clicking 'Add Attachments' and selecting it from the list of previously uploaded attachments.

Unfortunately, there is no automated method to create PDF attachments from other EMRs (e.g., Med Access). However, you can still attach any PDF file that's saved on your computer to a secure Ocean message.
EMRs generally make it easy to print a collection of letters, notes, reports and other documents from the chart. Your operating system's Print dialog may have a way to save a PDF preview of the printout to your desktop. Macs for example have a "Save as PDF" option inside this dialog. Adobe and "virtual PDF printers" are good options on other operating systems.
Once the PDF is saved to your desktop, you can drag and drop into the attachments area in Ocean. If you use this workflow, make sure you remember to delete the attachments on your desktop afterward to ensure any personal health information is appropriately cleansed.