


Ocean Cloud Connect is required to safely store your Ocean Site’s Shared Encryption Key. Completing this setup is necessary before you can receive eSubmissions.
Note: Setting up Cloud Connect is a one time step.
About Ocean Cloud Connect
Ocean Cloud Connect is used to safely store your Ocean Site's Shared Encryption Key.
Prerequisites
- You must have Site Admin access and Two Factor Authentication (2FA) enabled on your Ocean Site in order to sign into Ocean Cloud Connect.
Setting Up Ocean Cloud Connect
Log in to Ocean Cloud Connect.
- Navigate to cloudconnect.cognisantmd.com in a web browser.
- Go to Cloud Connect
- Log in using your existing Ocean user account credentials. This is the same Ocean user account that you use to log in to the Ocean Portal.
-

Store your Shared Encryption Key in Cloud Connect.
- After logging in to Ocean Cloud Connect, click the 'Store my Encryption Key' button.
-

-
You will be prompted to enter your Shared Encryption Key. After entering it, click 'Save'.
At this point, your Shared Encryption Key has been successfully saved in Ocean Cloud Connect.
-

Ensure that Cloud Connect is enabled in your Ocean Site.
- Log in to the Ocean Portal using your Ocean user account credentials.
-

- Open the 'Menu' in the top left corner and click 'Admin'.
-
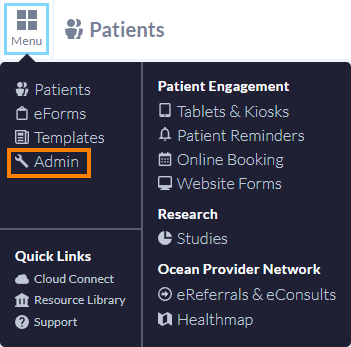
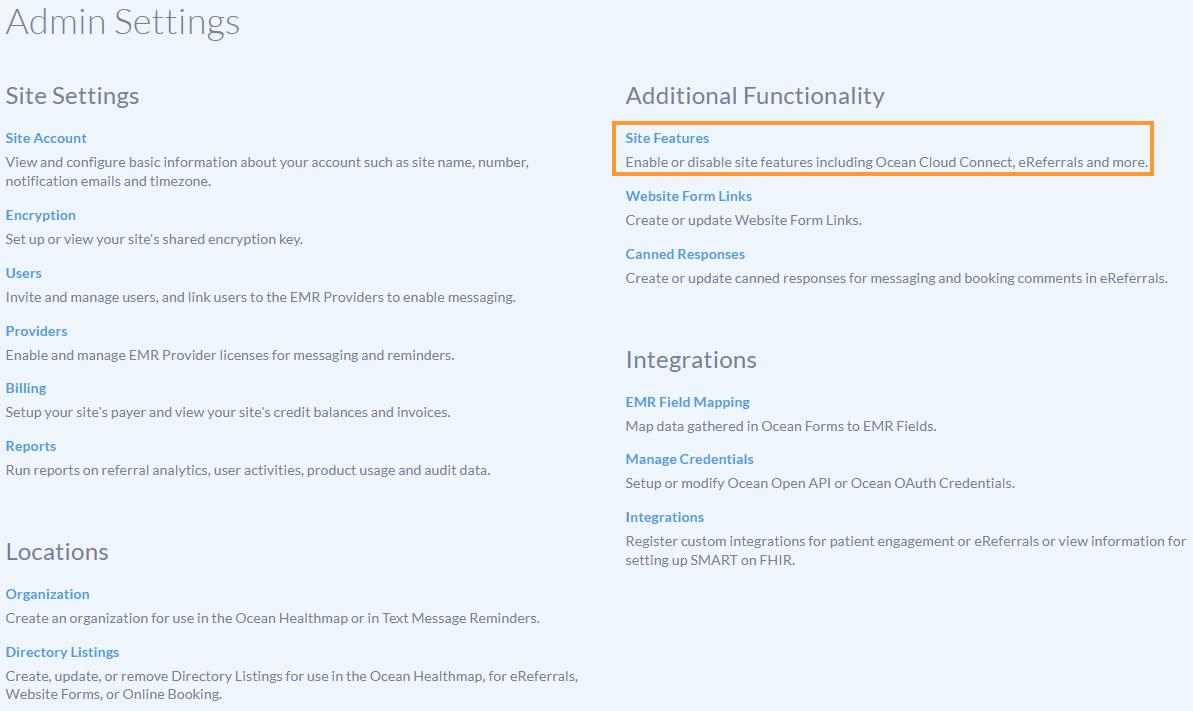
- From the Admin Settings page, click 'Site Features'.
-
-
Ensure that the 'Enable Ocean Cloud Connect' checkbox is enabled.
Note: You will need to manually enable this checkbox.
-
